Self-serve ice cream bar
When it comes to summertime entertaining, nothing is as yummy as a big ol’ bowl of ice cream piled high with all the fixin’s. However, that doesn’t mean you have to turn your tasteful get-together into a messy, syrup-smeared affair.
Here’s all you need to know to set up a sophisticated yet scrumptious self-serve ice cream bar with gourmet toppings that will appeal to kids and adults alike.
This post includes links to purchase items you’ll need from our affiliates.
self-serve ice cream bar instructions
Ingredients
- ice cream
- gourmet ice cream fixings (think fresh-chopped cherries and peaches, walnuts and honey, and crushed graham crackers)
- metal cupcake cooking pan
- [url href=”http://www.amazon.com/gp/product/B001HI3YOS/ref=as_li_qf_sp_asin_il_tl?ie=UTF8&camp=1789&creative=9325&creativeASIN=B001HI3YOS&linkCode=as2&tag=chery01-20&linkId=T45TYKGGWNZXK5ZR” target=”_blank” title=”Assorted Apothecary Jars”]assorted glass apothecary jars[/url] or see-through canisters
- [url href=”http://www.amazon.com/gp/product/B000LNW8Z6/ref=as_li_qf_sp_asin_il_tl?ie=UTF8&camp=1789&creative=9325&creativeASIN=B000LNW8Z6&linkCode=as2&tag=chery01-20&linkId=DQ2G2WN6EGVLLC5Q” target=”_blank” title=”Kerr 8 oz Wide Mouth Mason Jars”]mason jars[/url] or other small containers
- food stands or pedestals
- serving trays, serving bowls and spoons
- tablecloth or runner
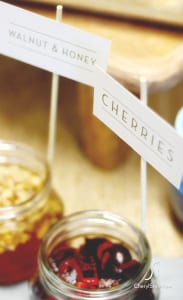
- cardboard food labels on sticks (optional)
Instructions
- Start by pre-scooping individual-sized servings of ice cream, then refreeze for a minimum of two hours so they won’t melt as your guests line up at the ice cream bar. (The best way to do this is to put the scoops in a metal cupcake pan to help keep them separated.)
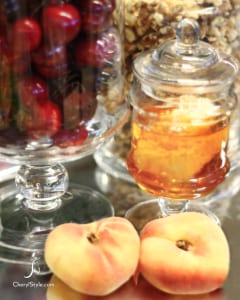
- Next, line your table with a tablecloth or runner (think outside-the-box here—even a repurposed shower curtain or swath of un-hemmed fabric will do the trick) and use stands to create height variations on your display. Think upside-down bowls, ceramic pots or serving trays from the back of your cabinet here. Use whole versions of your toppings (uncut peaches, cherries, or unshelled nuts are great) to decorate with by placing them in your see-through canisters, allowing their eye-pleasing natural beauty to shine through.
- Right before you are ready to serve, pour the sliced fruit and other toppings into clear glass containers such as mason jars and add your labels and spoons, so that guests know which items are fair game for the feast.
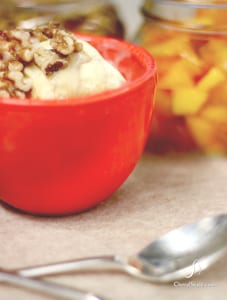
- Finally, transfer the ice cream scoops to chilled serving bowls and then get out of the way so your guests can dig in.
Notes
Pre-scooping is the key—no one wants to have to dig into a hard tub of ice cream once your guests are on the scene!
link


