Craft supply organizer
More often than not, a craft supply organizer tends to be bulky, take up valuable workspace and costs way more than it should. So, we came up with one that’s cute and functional yet doesn’t break the bank.
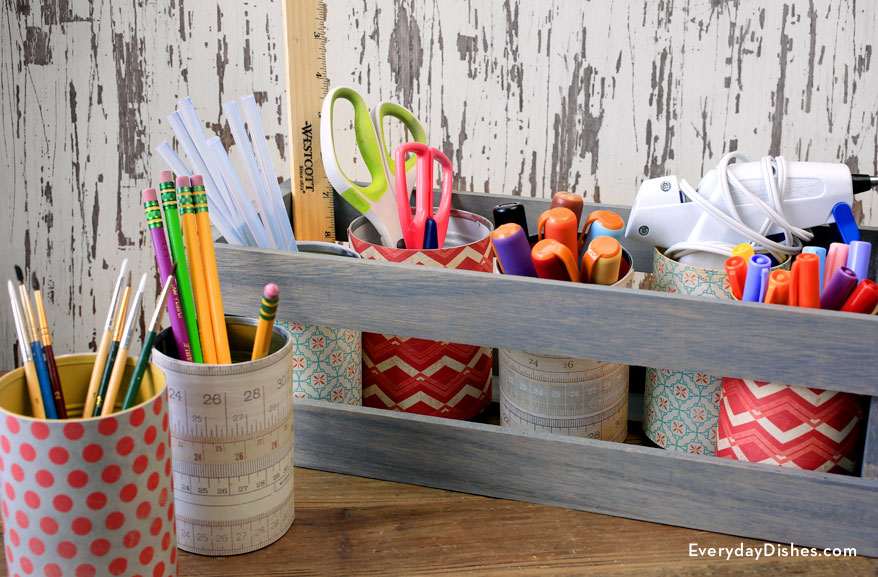
The key is to use a narrow crate that doesn’t take up too much of your workspace. It’s the perfect size to hold tin cans designated for those often-used supplies—just place it against the back wall of your table.
Since you’re a crafter and ‘boring’ is not in your vocabulary, wrap the tins with scrapbook paper with fun designs. Quick, easy and inexpensive to do—we love it!
This post includes links to purchase items you’ll need from our affiliates.
How to make a craft supply organizer
how to make a craft supply organizer
Ingredients
- wood crate
- wood stain (we used gray)
- paper towel or rag
- patterned scrapbook paper
- scissors
- empty soup cans of various sizes, washed and dried
- double-sided tape
Instructions
- Stain wooden crate the shade of your choice, using a paper towel or rag. Set it aside to dry.
- Cut your scrapbook paper to fit the various sizes of your cans, wrap around, then adhere with double-sided tape.
- Insert the cans into the wooden crate, add the desired craft supplies and watch the mess disappear!
Notes
Still need more room for your supplies? Make a few and hang them on the wall like shelves.