DIY dry erase calendar
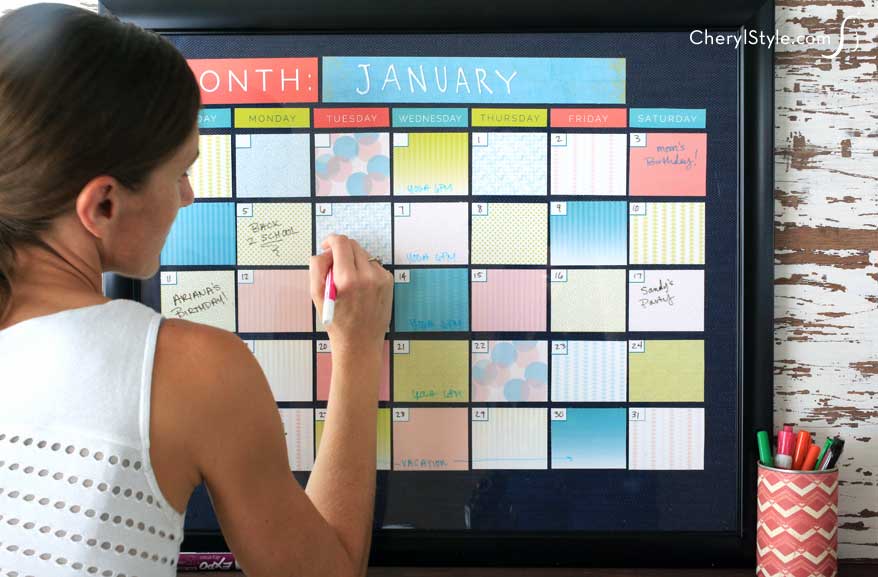
Our DIY dry erase calendar is not only stylish—it’s reusable! Bring your schedule front and center with cute fabric, printable calendar squares and a glass or Plexiglas picture frame. Post events with whiteboard markers that can easily be erased each month.
Cover the frame’s backing with leftover fabric or splurge and buy new fabric to spruce up your room’s décor. Using spray adhesive makes it easy to swap out the fabric whenever you’re ready for a change.
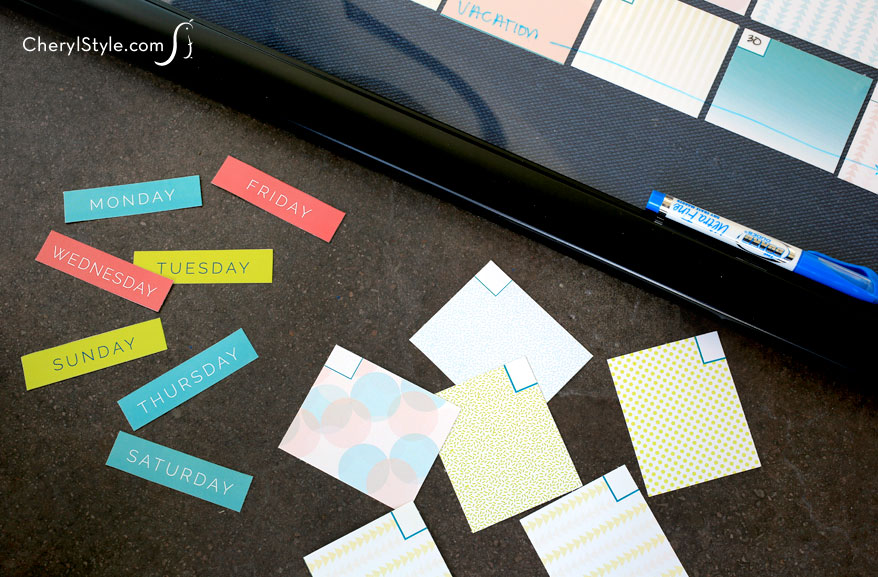
When it comes to making the days of the month, you won’t have to waste time searching for cute designs—we’ve done it for you! Just cut out our printable, line up the squares and use a glue stick to adhere. Easy!
How to make a dry erase calendar
how to make a dry erase calendar
Ingredients
- dry erase calendar printable
- picture frame (we used 20″ x 24″)
- fabric, cut slightly larger than the frame
- scissors
- spray adhesive
- card stock
- ruler
- 2″ x 12″ piece of scrapbook paper
- glue stick
- whiteboard markers
Instructions
- Flip your frame over to remove the backing and mat board, if any. Spray adhesive onto the back of fabric then adhere to the frame’s backing (be sure to smooth out any wrinkles) then trim off excess fabric.
- Download the dry erase calendar printable.
- Print out the sign for ‘month,’ days of the week and 2 copies of calendar squares on card stock. Cut out where indicated. Arrange cutouts on fabric—a ruler will help line them up straight.
- Once you are happy with your arrangement, apply glue to the back of each cutout, pressing firmly onto the fabric.
- Place backing into frame. Use glass pens or dry erase markers to write in the month and number the days. Keep glass pens or whiteboard markers handy to schedule events then wipe your calendar clean each month.
Notes
Want a different color palette for the squares? Paint swatches make good substitutes—they’re the perfect size.