DIY Envelope Clutch
A sleek envelope clutch will never go out of style. This DIY project takes a bit of time, but it’s so simple.
First, you need to pick out your fabric. Stiff fabrics like vinyl or leather work best and you’ll need to buy enough material to equal three letter-sized sheets of paper laid side by side.
We opted for gray and gold fabric to create a modern and understated glam look, but you can choose any color combination that you like.
If sewing isn’t your forte, use flexible adhesive made specifically for whatever kind of material you decided on. It’s affordable and a little bit goes a long way!
Our envelope clutch template can be scaled down to create a cute wallet-sized purse. (Just adjust your printer settings to the right size.) Oh, and the template includes instructions for sewing a hand stitch, too!
This post includes links to purchase items you’ll need from our affiliates.
How to make an envelope clutch
- envelope clutch template
- scissors
- 1 sheet paper, 8.5″ x 11″
- leather or vinyl, 25.5″ x 11.5″
- pencil
- ruler
- awl
- [url href=”http://www.amazon.com/gp/product/B001F7E9VI/ref=as_li_qf_sp_asin_il_tl?ie=UTF8&camp=1789&creative=9325&creativeASIN=B001F7E9VI&linkCode=as2&tag=chery01-20&linkId=RUKNX6FU4NTUWTKX” target=”_blank” title=”Vinyl flexible adhesive”]vinyl flexible adhesive[/url] or needle and thread
- ¼” rivet or button stud closure
- Download the [url href=”https://everydaydishes.com/wp-content/uploads/2015/03/envelope-clutch-template-everydaydishes_com.pdf” target=”_blank” title=”Envelope clutch template”]envelope clutch template[/url] and open in [url href=”http://get.adobe.com/reader/” target=”_blank” title=”Adobe Reader”]Adobe Reader[/url]. Print, cut out using scissors, and set aside.
- Use the 8.5″ x 11″ sheet of paper as a template to trace a rectangle onto the vinyl or fabric. Once traced, place the triangular-shaped cutout at the top edge of the rectangle and trace—the pattern should resemble a house with a peak roof. Cut out the outlined edges to form one piece of fabric for the back and flap of the purse.
- Place the 8.5″ x 11″ sheet of paper onto the remaining piece of fabric to trace and cut out a rectangle for the front of the purse.
- Using a pencil and ruler, measure and mark every 1/4″ along the sides and bottom of the 2 pieces that form the purse. Carefully punch holes where marked, using an awl. Glue together using vinyl flexible adhesive or sew together by hand, using a hand stitch (refer to instructions on printable).
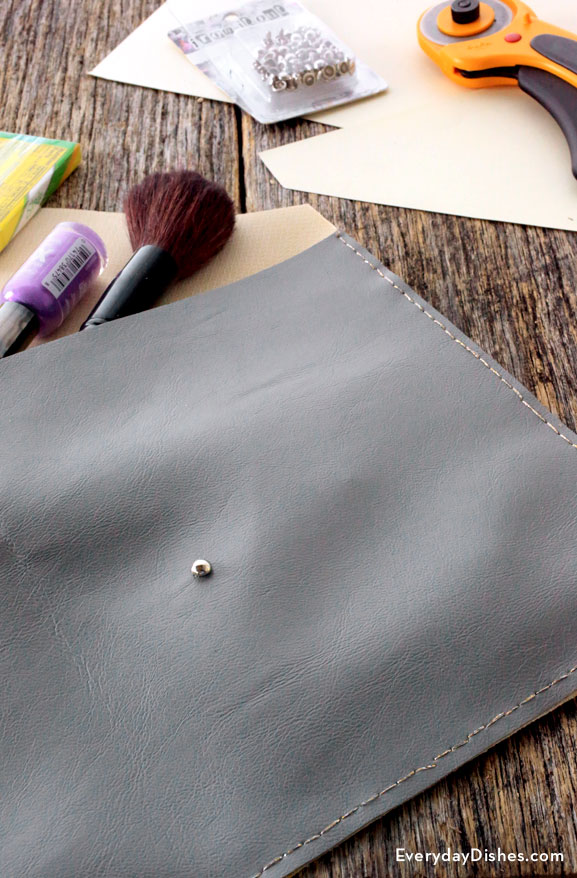
- Once purse has been assembled, make a mark on the outside of the flap approximately 1″ above the flap’s point. Use a precision knife to make a tiny slit then poke a pencil through the slit to mark and align the placement for the rivet or button stud closure. Cut 2 tiny diagonal lines to form an ‘X,’ insert the back of the rivet through the material then snap the flap closed.