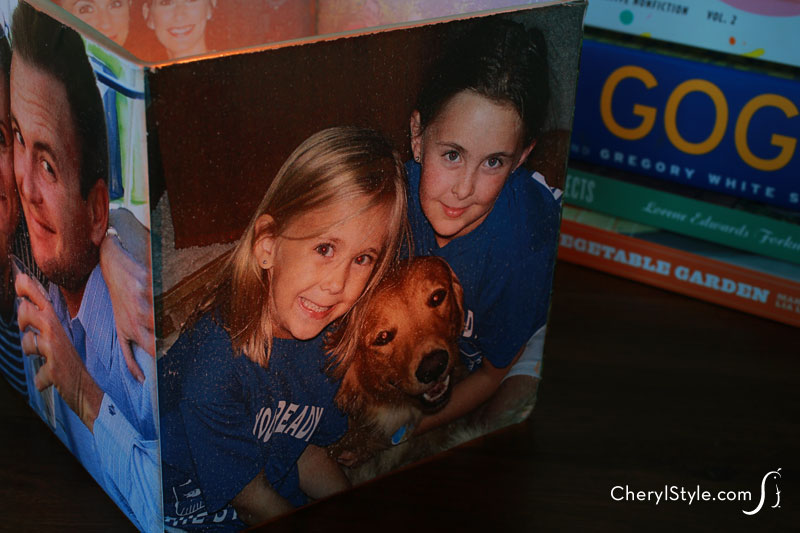
Photo transfer candleholder
Skip the basic picture frame and show your photos off by making a photo transfer candleholder! Waterslide decal paper and your digital photos make it an easy DIY that displays your favorite photos in a really stylish way.
This is a somewhat pricey project, but it’s well worth it when you see your loved ones shining back at you…literally! We used Lazertran paper but you can cut down on the costs with less expensive brands.
When it comes to a candleholder, check out your own supply before running to the store. We found a cube shape lurking on a shelf but you could just as easily use a rectangular or cylindrical holder or even a vase.
To get the full effect of how sensational your photos can look, place a short candle inside. It will brighten up your images from top to bottom!
Create gifts for Mom or Dad or that graduate who finally made it through. Highlight that special milestone or simply acknowledge a friend’s birthday—the possibilities are endless. Don’t be surprised if you end up making one for yourself!
- Waterslide decal paper (Lazertran)
- scissors
- candleholder (5″ x 5″ cube)
- short candle
- bowl of water
- Measure the surface of the candleholder on which you’ll be placing your photos. Gather images of your choice and size them according to the measurements of the candleholder.
- Print images out on Waterslide decal paper following directions on the package. Cut out images then drop them into a bowl of water, one at a time.
- Wait approximately 1 minute then separate the image from its backing—it should slide right off. Carefully place the image on the candleholder, smooth and pat dry.
- Once dry, repeat steps to completely cover the candleholder all the way around. Insert a candle and enjoy watching your loved ones’ faces light up over and over again.