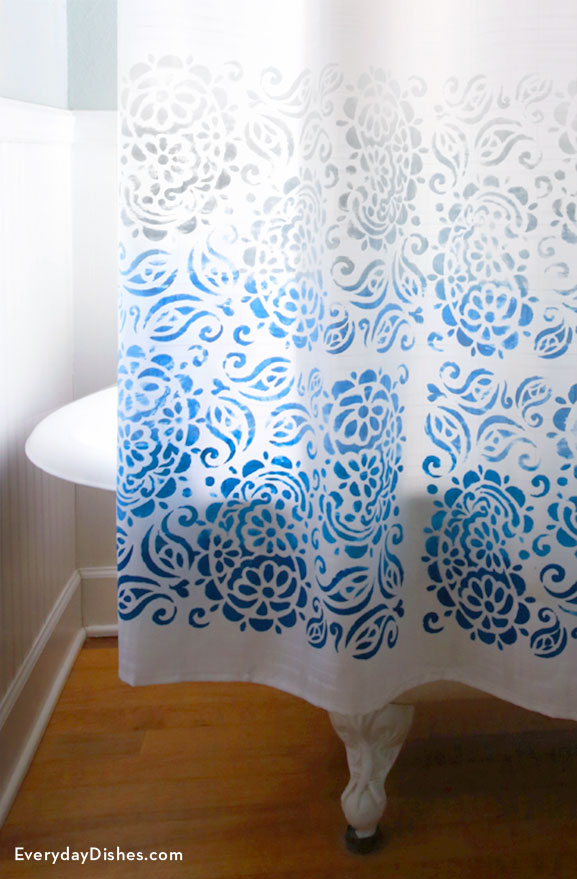
Stenciled Paisley Shower Curtain
Add personal flair to your bathroom décor with our stenciled paisley shower curtain DIY. All you need is a plain curtain, a few sponges and paper plates, and stenciling supplies.
The spray adhesive is really your secret weapon in this craft. It’ll make the process so much easier! The adhesive applies a secure hold to your fabric, but you can still easily lift and reposition the stencil as you paint. It’ll make your final design look neat and professional.
The ombre effect that you see is the result of mixing and matching 3 different Tulip fabric paints—white and 2 similar shades of blue.
This post includes links to purchase items you’ll need from our affiliates.
Stenciled Paisley Shower Curtain Instructions
Ingredients
- white fabric shower curtain
- [url href=”http://www.ilovetocreate.com/store/products/493-tulip-large-textile-stencils.aspx” target=”_blank” title=”paisley stencil”]paisley large textile stencil[/url]
- [url href=”http://www.ilovetocreate.com/store/products/502-tulip-stencil-spray-adhesive.aspx” target=”_blank” title=”tulip stencil adhesive”]spray adhesive[/url]
- 5 sponge brushes
- paper plates
- [url href=”http://www.ilovetocreate.com/store/products/234-tulip-soft-paint.aspx” target=”_blank” title=”tulip paint”]soft matte fabric paints[/url] in white and 2 similar shades of blue
Instructions
- Iron your shower curtain if necessary then spread it out onto a large protected work surface.
- Start by spraying a coat of stencil adhesive on the back of your stencil, then adhere it to the bottom corner of the shower curtain. Using a foam sponge brush, squeeze blue paint onto the first plate and then dab a thin coat onto the bottom third of the stencil. Each stencil will have 3 sections of equal size but different-colored paint.
- With the stencil still in place, use a new brush to mix blue with a few drops of blueberry and then apply it to the middle section of the stencil. Then, using a fresh plate and brush, apply only blue to the top portion of the stencil. Wipe the stencil clean and repeat across the bottom of the shower curtain, carefully placing the stencil as close to the previous stenciling as possible to eliminate gaps.
- Make a second row above the one you’ve already stenciled, repeating the same steps as before but using lighter shades. Begin by sponging blue paint onto the bottom portion of the stencil. Mix White with a few drops of blue for the middle portion and then sponge only white for the top of the stencil. Repeat all the way across the curtain. Allow the paint to dry completely before hanging.
Notes
Using a sponge brush for this ombre project works really well and uses less paint than a roller.