DIY Menorah for Kids
Hanukkah is a Jewish holiday about religious freedom, family gatherings and, of course, dreidels and menorahs. What better way to celebrate the festival of lights together than to help your kids make their own menorah?
A menorah is a special candleholder for nine candles, symbolizing the eight nights of Hanukkah with the ninth candle representing the caretaker of the Jewish temple. It is used to light the other candles and is often taller to distinguish it from the other candles.
We created our menorah’s base and platform by using two different-sized Styrofoam blocks to accommodate wood stick figures and candles. Don’t worry if you’re unable to find the exact size. Styrofoam can be cut to size—just use a serrated knife to avoid a jagged edge.
Have the kids choose Hanukkah giftwrap from your leftover stash then help them wrap each block, using double-sided tape to secure seams and ends—that way the tape won’t show.
The story of Hanukkah has been passed down throughout generations. Simply put, the Jewish temple was cleansed and rededicated after wars were fought. Olive oil was necessary to light the lamps within the temple but there was only enough to last one night. Tradition tells us that a miracle occurred and the oil lasted for eight nights.
DIY menorah instructions
- 2 Styrofoam blocks, 20″ x 6″ x 1″ and 12″ x 4″ x 2″, cut to size with serrated knife if necessary
- Hanukkah giftwrap
- scissors
- double-sided tape
- 9 wood boy/girl stick figures
- acrylic craft paint
- artist’s brush
- extra fine tip marker
- magnetic memo strip, 20″ long
- Super Glue
- 10 – 3/8″ hex nuts
- Cut Styrofoam block to measure 20″ x 6″ x 1″ using serrated knife.
- Wrap 20″ x 6″ x 1″ block in giftwrap, using double-sided tape to secure seams and ends so tape does not show.
- Repeat process using 12″ x 4″ x 2″ block.
- Place larger wrapped Styrofoam block on flat surface, bottom facing up.
- Apply double-sided tape to bottom of smaller wrapped block, flip block over and center on larger block, leaving approximately 4″ on each end.
- Press down to secure it to larger block.
- Flip Styrofoam blocks over so that smaller block becomes base for larger block then set aside.
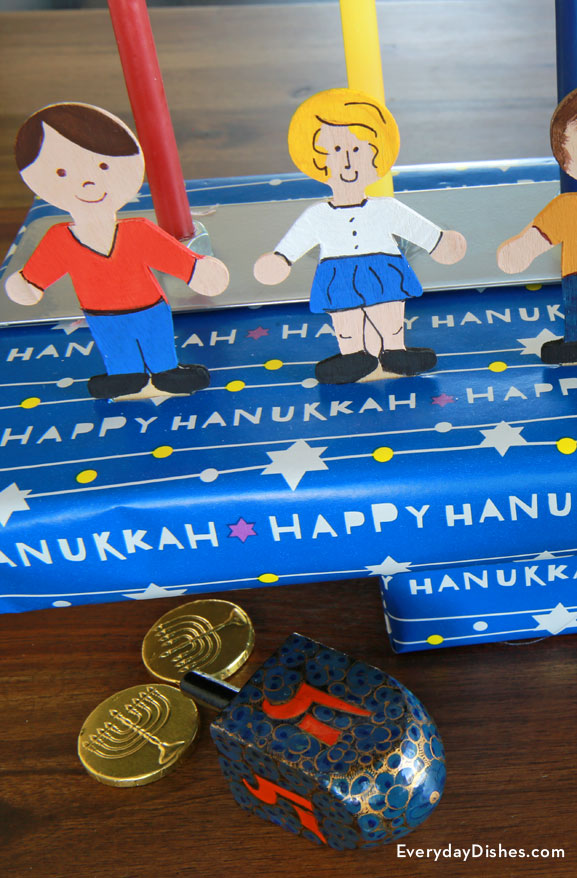
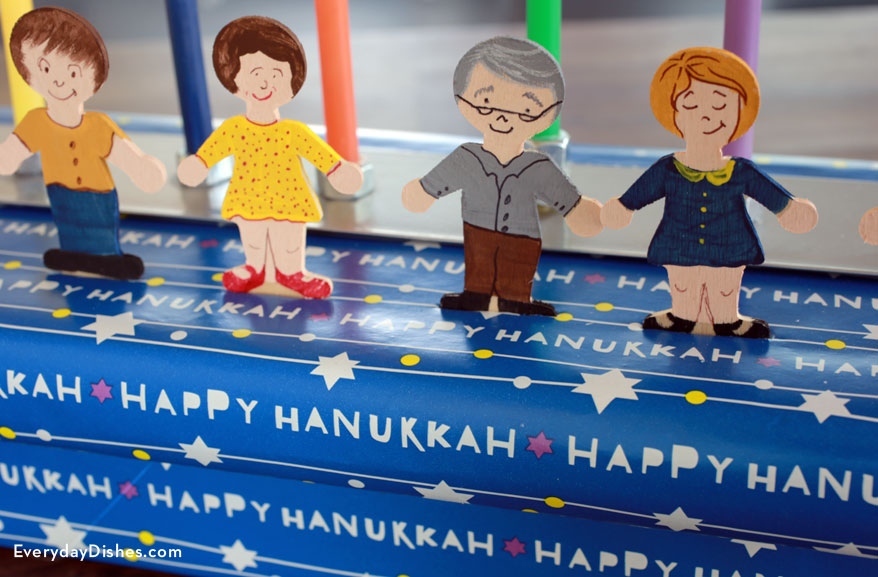
- Paint wood stick figures using acrylic craft paint and artist’s brush.
- Allow to dry thoroughly then add features and details with extra fine tip marker.
- Snip approximately 2¼” off length of each stick figure using scissors.
- Measure 2″ from one edge of Styrofoam, gently insert stick figure into top of Styrofoam.
- Repeat for next 8 figures, keeping them in straight line.
- Apply double-sided tape to one side of magnetic memo strip.
- Flip memo strip over, center behind wood figures then press down to secure.
- Glue 1 hex nut on top of a second hex nut using Super Glue, set aside.
- Space 8 single hex nuts evenly apart in straight line on memo strip, leaving space for double hex nut in middle.
- Secure hex nuts to memo strip using Super Glue.
- Place candles in hex nuts, twisting gently.
- Light candles according to the Hanukkah tradition!