DIY Hand-Stamped Giftwrap
You’ve found the perfect gift to exchange for the holidays and you want it to look extra special! Why spend money on costly wrapping paper when you can make your own hand-stamped giftwrap? We even supply a printable DIY stamp template to get you started!
Don’t want to take the time to make one? Just head to your local craft store and choose several from their wide selection. You’ll want to pick up some colored ink pads or acrylic paints and a roll of natural kraft paper while you’re there.
Whichever way you decide, you won’t believe how easy it is to create your own unique giftwrap. We chose a variety of acrylic paints (love metallic!) to experiment with different designs, alternating stamps in different directions to create a more interesting effect.
Upcycle Greek yogurt cups for paint bowls to mix or match paint colors.
Don’t worry if your stamp pattern isn’t perfect—it’ll still convey that homemade look, but in a good way. For variation, try your stamps on different types of paper to see which textures you like best.
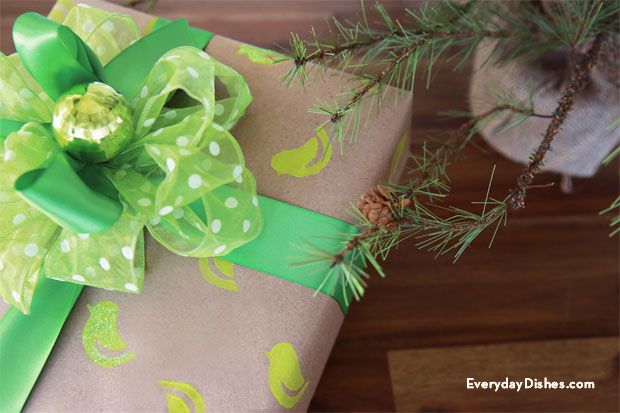
Add a Everyday Dishes & DIY DIY gift tag and your hand-stamped gift-wrapped present will most certainly be appreciated!
- stamp
- 12″ x 18″ x 5mm sheet of craft foam
- [url href=”https://everydaydishes.com/wp-content/uploads/2013/07/DIY-stamp-printable.pdf” target=”_blank” title=”Everyday Dishes & DIY DIY Stamp”]Everyday Dishes & DIY DIY Stamp Printable[/url]
- X-acto knife
- ruler
- #2 pencil
- stenciled giftwrap
- natural kraft paper roll
- acrylic paint (flat, gloss or metallic)
- foam brush
- small tip paint brush
- glitter
- white glue
- Everyday Dishes & DIY DIY stamp printable PDF (see DIY stamp instructions)
- Adobe Reader
- Download the Everyday Dishes & DIY DIY Stamp Printable and open in Adobe Reader (adjust printer settings if you want a larger stamp size).
- Trace image with #2 pencil on hard surface.
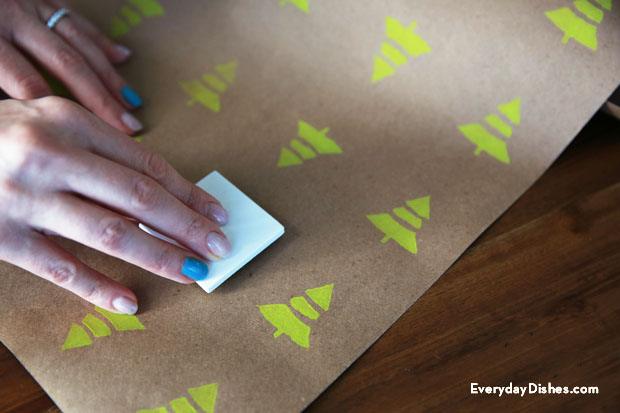
- Turn printable image side down on foam.
- Rub firmly with finger nail to transfer pencil image.
- Cut out carefully with X-acto knife, keeping knife vertical to make a straight cut in foam.
- Measure and cut a 2″ foam square.
- Hot glue stamp image centered on square. Press firmly, let dry. Repeat for other stamps.
- Roll out paper on hard, flat surface.
- Measure and cut to size needed to wrap gift.
- Pour paint into bowls.
- Lightly dip brush into paint, wipe excess paint off brush on side of bowl or paper towel because you only want a light coat of paint on brush so stamp details will show.
- Brush stamp surface with paint until covered.
- Press stamp firmly onto paper. Stamp until design is complete.
- Let dry 15–20 minutes then wrap gift, finish with bow and Everyday Dishes & DIY DIY gift tag.
- Rinse or wipe stamps with warm water to reuse.