Bleach pen napkins
Bleach pens are not just for clothes. Let the creative juices flow and make designer bleach pen napkins! It’s an easy project that’s inexpensive, fun and changes the look of your table in an instant.
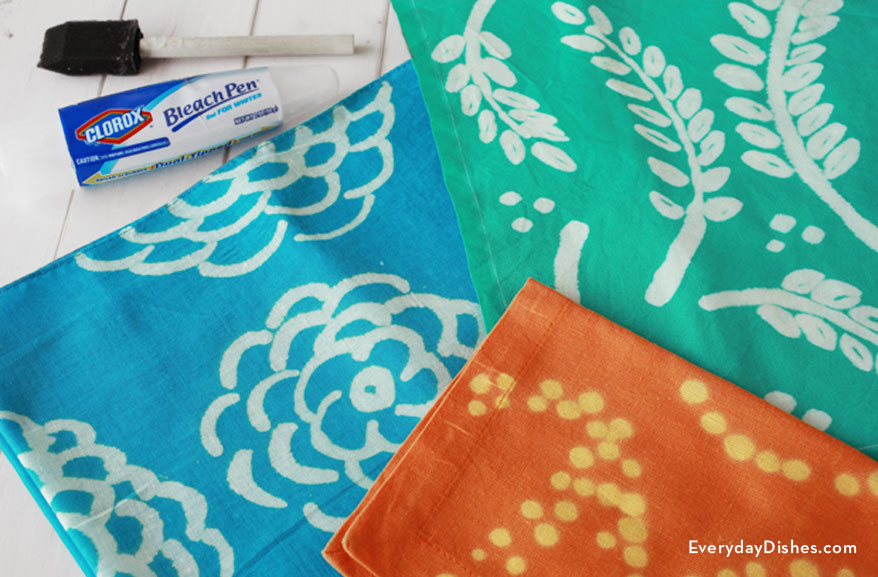
You don’t have to be Picasso to make this craft work for you. If you’re somewhat skeptical of your artistic ability, trace household objects such as lids or cups to make a design you like. Have a favorite stencil you like? A sponge brush dabbed with bleach will produce a lovely effect on the fabric.
With supervision, kids can safely use a bleach pen to create their own design. If you’re worried about them touching any bleached areas and irritating their skin, disposable gloves with solve the problem.
Napkins aren’t the only things you and the kids can make. Think big! Experiment with totes or t-shirts. Just line them with waxed paper so the bleach doesn’t seep through.
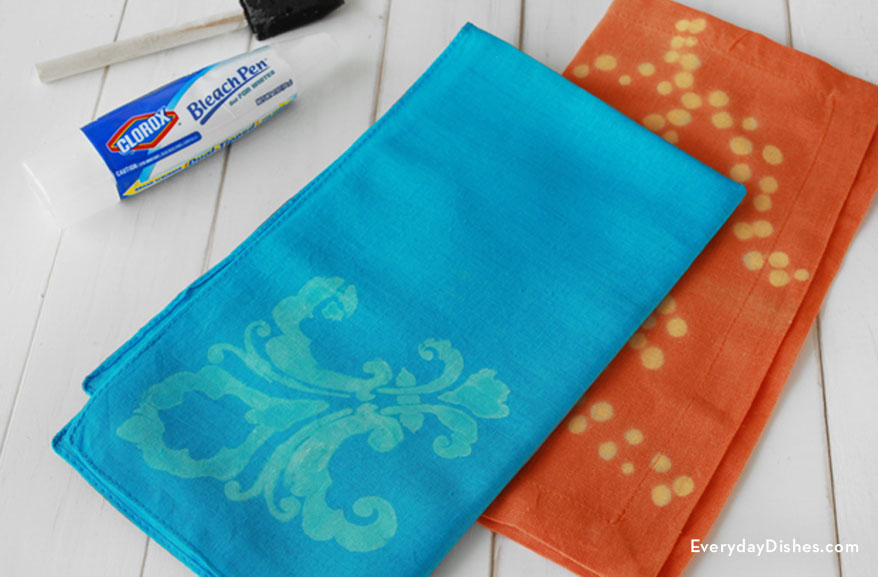
Bleach pen napkins instructions
- fabric napkins
- bleach pen
- waxed paper or craft paper (to protect surface)
- stencils (optional)
- sponge brush (optional)
- Place your napkins flat on a work surface—be sure to protect the surface with waxed paper or craft paper.
- Get a bleach pen and begin drawing your design. You can make one freehand or if you’re unsure of what to draw, find shapes of household objects to use as a tracing tool. If you want to make a circle pattern, trace around lids and cups.
- If you choose to use a stencil, simply place it on the napkin, apply a line of bleach along the top edge of a sponge brush and lightly tap the brush over the stencil. Carefully remove the stencil and repeat.
- When you’re finished drawing or stenciling on all your napkins, allow them to dry until the desired color has been achieved then rinse in cold water and dry.