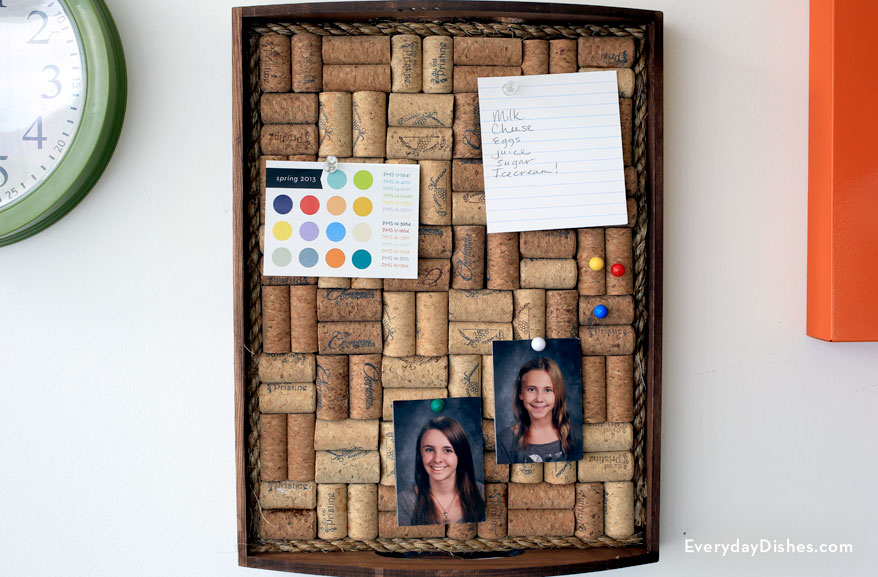
Wine cork corkboard
If you’re like us, you’ve had a good time saving those wine bottle corks, and here’s your chance to put them to good use! Make a wine cork corkboard that’s one-of-a-kind and practical at the same time!
You’ll want to use corks that are straight, rather than tapered, to avoid having gaps. If you find yourself in short supply, just head to your local craft store.
Gluing them on, one by one might sound tedious—but it’s not, we promise! Hot glue dries quickly and your pattern will stay intact.
This post includes links to purchase items you’ll need from our affiliates.
How to make a wine cork corkboard
wine cork message board instructions
Ingredients
- [url href=”http://www.amazon.com/gp/product/B000YQGQVC/ref=as_li_qf_sp_asin_il_tl?ie=UTF8&camp=1789&creative=9325&creativeASIN=B000YQGQVC&linkCode=as2&tag=chery01-20&linkId=3YZCOUB7RML26QTI” target=”_blank” title=”Wooden Serving Tray”]wooden serving tray[/url]
- stain of your choice
- 2 sawtooth hangers
- [url href=”http://www.amazon.com/gp/product/B006BF7BBE/ref=as_li_qf_sp_asin_il_tl?ie=UTF8&camp=1789&creative=9325&creativeASIN=B006BF7BBE&linkCode=as2&tag=chery01-20&linkId=POZM33SMJ5ZSS2OS” target=”_blank” title=”Corks”]corks[/url]
- hot glue gun
- thick twine
- scissors
Instructions
- Stain tray then set aside to dry.
- Attach saw tooth hangers to back of tray.
- Create your own pattern or replicate ours by simply alternating corks horizontally and vertically in groups of two. Leave as little border as possible.
- Once satisfied with the pattern, begin gluing each cork onto the tray, one by one. When you’re finished, flip the tray over to make sure nothing falls off.
- Glue twine around the border for extra embellishment.
Notes
Don’t worry if your pattern doesn’t meet the edges exactly—use twine to form a border for a finished look.