Stenciled Outdoor Rug
Outdoor rugs can be so expensive, especially the really pretty ones—that’s why we decided to come up with easy directions to create a stenciled outdoor rug using a few simple tools.
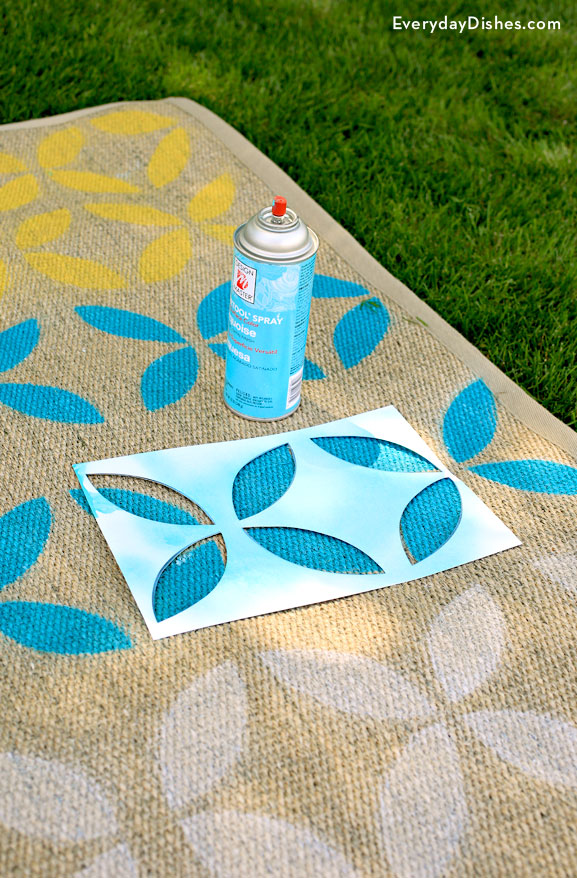
We found an inexpensive outdoor rug then grabbed some card stock, a precision knife and spray adhesive we already had in the craft room. To keep the stencil in place, we used a generous coating of spray adhesive on the back then placed the stencil on the rug.
Forget a sponge and regular paint, we let spray paint do all the heavy lifting! By holding the spray paint can 6 inches over the stencil, you’re guaranteed a nice, even coating of color. Repeat several sections at a time then set aside to dry.
How to make a DIY stenciled outdoor rug
How to Make a DIY Stenciled Outdoor Rug
Ingredients
- outdoor rug stencil template
- card stock
- precision knife
- outdoor rug
- spray adhesive
- paper to cover area not stenciled
- spray paint
Instructions
- Download the outdoor rug stencil template.
- Print out on card stock and use a precision knife to cut out design where indicated. Then arrange to make certain that they will fit nicely on your rug.
- Apply a heavy coat of spray adhesive onto the back of the stencil to help keep it in place. Starting at one corner, lay the stencil on the rug and cover the rest of the mat with paper to protect it from paint.
- Hold the paint can about 6″ directly over your stencil (not at an angle) and spray. If the stencil starts to shift, hold it down with your hand.
- Repeat step #4, spraying small sections at a time, to make sure paint doesn’t get underneath the stencil. Work your way across and down to the opposite corner until design is complete.
Notes
You can also use this craft to take with you on a picnic or a play-date at the park!

