Stenciled Scarf Video
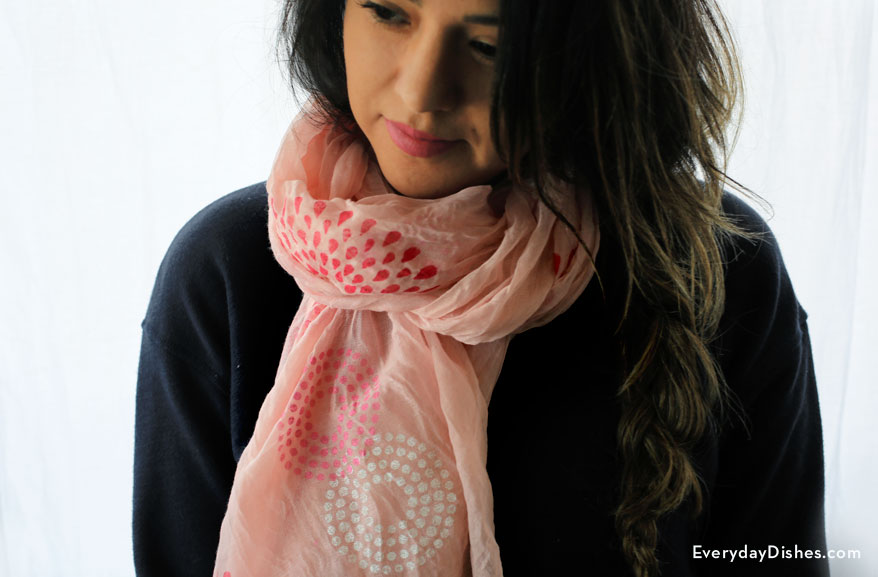
Clean out your closet and grab any plain scarf you can find. We’re making a stenciled scarf that’s easy, inexpensive and awesome!
It’s really not hard to do, especially with stencils. Choose one or two that complement each other and your style, plan your layout then dab on your favorite colored fabric paints. Let dry then adorn!
This post includes links to purchase items you’ll need from our affiliates.
How to make a stenciled scarf
Stenciled Scarf Instructions
Ingredients
- scarf
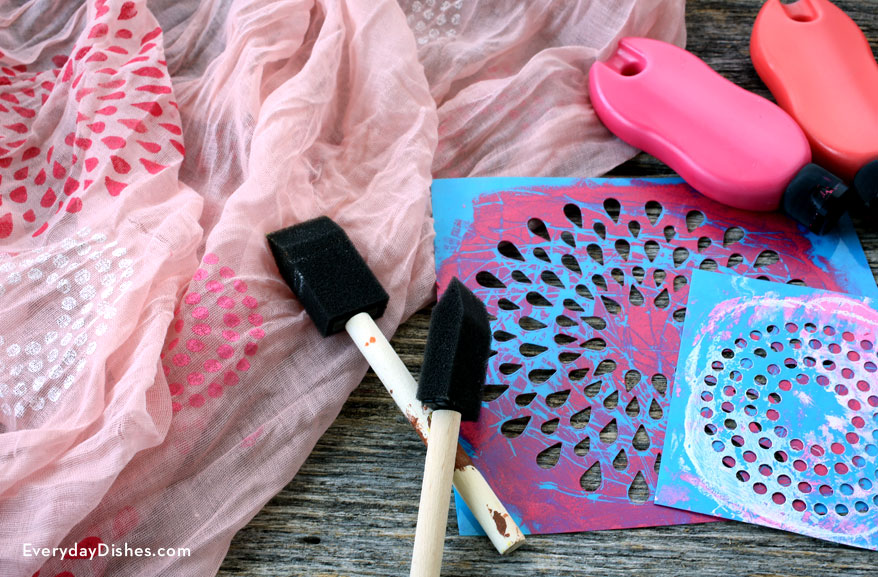
- stencil
- painter’s tape
- spray adhesive
- sponge brush
- fabric paint
- paper towels
Instructions
- Lay your scarf onto a protected work surface. Pull it taught then tape each side of the scarf to your work surface. If your surface isn’t large enough, you can work in sections.
- Once you have planned your design, lightly spray the back of your first stencil with spray adhesive. This will give it a little stick while you stencil. Starting at one end of your scarf, press the stencil on top of the fabric.
- Dip a sponge brush in paint, then dab onto paper towel to remove excess paint. Sponge fabric paint over the stencil. Quickly lift up the stencil and repeat as you work your way down the rest of the scarf.
- Repeat steps with each different stencil. Once you’ve completed your design, allow the scarf to dry for a few hours.
Notes
Iron your scarf and make sure it is as taught as possible before stenciling to get the best results.


