Cornhusk Christmas tree
Think cornhusks are only for the fall season? Think again! Dye them green, glue to a wine or beer bottle then top with a star for a corn husk Christmas tree that makes a truly unique holiday decoration no matter where it’s placed.
Easy-to-follow instructions take the guesswork out of replicating this craft. We love to help the environment by putting our favorite beer or wine bottles to use. Besides, it’s a delicious way to cut down on the cost of the project!
Cornhusks can be cut and shaped very easily. A quick dip in water makes them pliable
so you’ll be able to adjust the tips of the ‘branches’ to exactly the way you want. Just hold them in place for a few seconds to allow them to take shape.
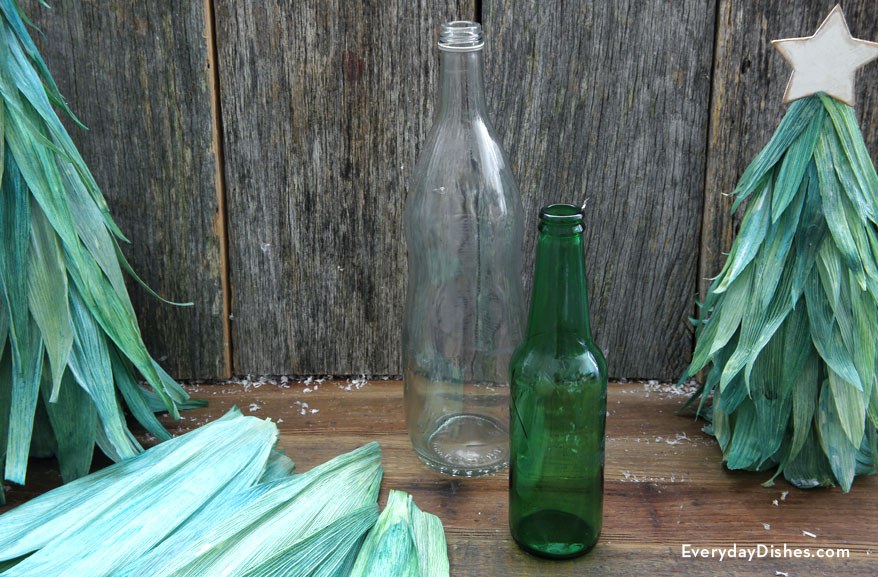
We chose to decorate three bottles ranging from 9″ to 13″ tall. A variety of heights add more interest when trees are grouped together.
This post includes links to purchase items you’ll need from our affiliates.
How to make a cornhusk Christmas tree
- [url href=”http://www.amazon.com/gp/product/B0000GK6WQ/ref=as_li_qf_sp_asin_il_tl?ie=UTF8&camp=1789&creative=9325&creativeASIN=B0000GK6WQ&linkCode=as2&tag=chery01-20&linkId=VI3MTC6ZZRSNV3RK” target=”_blank” title=”Dried Cornhusks”]cornhusks[/url]
- [url href=”http://www.amazon.com/gp/product/B00AQ72T6K/ref=as_li_qf_sp_asin_il_tl?ie=UTF8&camp=1789&creative=9325&creativeASIN=B00AQ72T6K&linkCode=as2&tag=chery01-20&linkId=GX6HRI7M4CFK7DH3″ target=”_blank” title=”dark green fabric dye”]dark green dye[/url]
- bottle
- hot glue gun
- large, shallow container for dyeing
- [url href=”http://www.amazon.com/gp/product/B001K7OM10/ref=as_li_qf_sp_asin_il_tl?ie=UTF8&camp=1789&creative=9325&creativeASIN=B001K7OM10&linkCode=as2&tag=chery01-20&linkId=UU24JU3VRYJLKQSL” target=”_blank” title=”Wooden Star”]wooden star[/url]
- white acrylic paint
- Start by filling a large container with water. Dye corn husks in green dye according to package instructions. When desired color has been achieved, remove corn husks and allow to dry just until damp.
- Place one husk on the bottle so the wider end is flush with the bottom of the bottle. Hot glue the edges to the bottle, apply pressure to secure then repeat until the bottle is completely covered with a single layer of cornhusks.
- To form the tip for your tree, fold a husk in half and roll it into a cylinder shape. Dab a little glue along the seam to hold it in place then apply glue inside the neck of the bottle. Place the rolled cornhusk inside the neck, leaving an inch or so to stick out.
- Make branches by cutting husks in half lengthwise and layering them on top of the first layer—this time with the narrow ends of the husks pointing downward. Glue only the wider ends to the bottle and turn the narrow ends outward—dampen with water, if necessary, to make them pliable. As you work your way up the bottle, cut pieces smaller and continue to layer husks in an even layer over each other.
- After you’ve completed your tree branches, paint a wooden star white, sand off the edges for a distressed look and glue it on top of your tree.