Oilcloth Covers
We’ve all got piles of papers, receipts and bills that beg to be organized but if you’re a crafter, just putting them into an ordinary folder won’t do. Suzanne, our project manager here at Everyday Dishes & DIY, couldn’t resist coming up with stylish faux oilcloth covers for her accordion files.
Our craft room is overflowing with scrap fabrics so we had plenty of choices. Real oilcloth can be pricey and we are all about saving money, so use Thermoweb Iron-on Vinyl instead—one roll goes a long way towards future projects and it looks just as good as the real thing. It can be ironed on to any fabric then sewn or glued, depending upon the project.
If you have a rotary cutter, our latest favorite tool, definitely use it to trim the edges for precise cuts. If you don’t have one and you like to craft, you should think about getting one! They’re around $12.00 and we think they’re awesome. It’s like using a pizza cutter instead of a knife to cut a pizza. Way easier!
The great thing about covering your folders is that they’re versatile, portable and waterproof. Make each kiddo one using different fabrics and they won’t have an excuse for misplacing their homework!
As far as excuses go, that includes you too. Bills won’t get lost once they’re filed away, so you’ll be paying them on time. Hmm…this project is looking better all the time!
- scissors
- folder organizer
- fabric
- iron
- Thermoweb Iron-on Vinyl
- cutting mat
- rotary cutter
- ruler
- hot glue
- button and embellishments
- The first thing you need to do is cut out the fastener from the front flap of the folder organizer. Don’t worry about cutting through the plastic—you’ll be covering the flap with fabric anyway.
- Iron the fabric flat to remove all wrinkles then cut it, along with Thermoweb Iron-on Vinyl, ¼” larger than organizer—it doesn’t have to be perfect.
- Next, adhere Thermoweb Iron-on Vinyl to the fabric following product instructions.
- Place the fabric on a cutting mat and trim the short sides to the length you need, using a rotary cutter and ruler as a guide. This time, you’ll need to be precise—you won’t be able to trim them later.
- Starting with one short end of the organizer, apply hot glue along the edges, place the fabric on top and smooth flat with your fingers—you’ll want to work in small sections as hot glue hardens quickly.
- Work your way across the organizer until it’s completely covered in fabric, open it to lay flat then trim edges using your trusty rotary cutter. Add additional glue where necessary to create a finished edge.
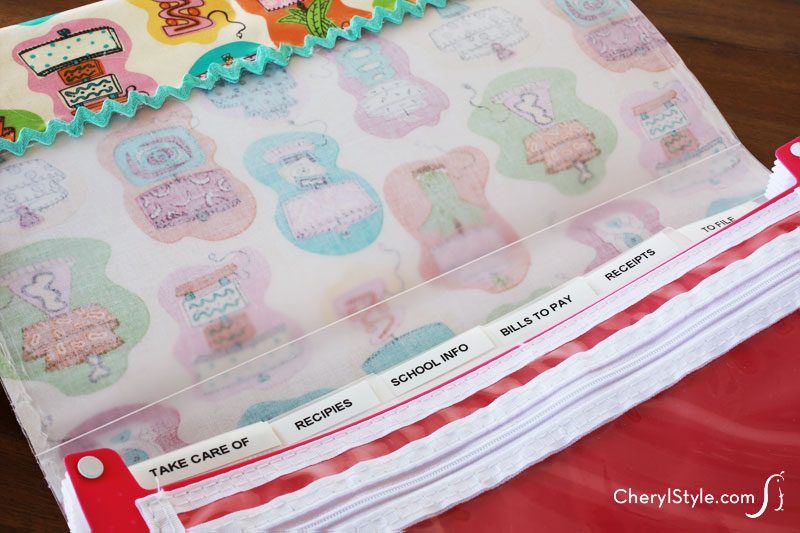
- Sew a button on the front flap where the fastener was and add Ric Rac or other embellishments to complete your organizer. Label the tabs, fill it with stamps, a small calculator, those dreaded bills—whatever you use on a regular basis. It’ll all be right there when you need it!