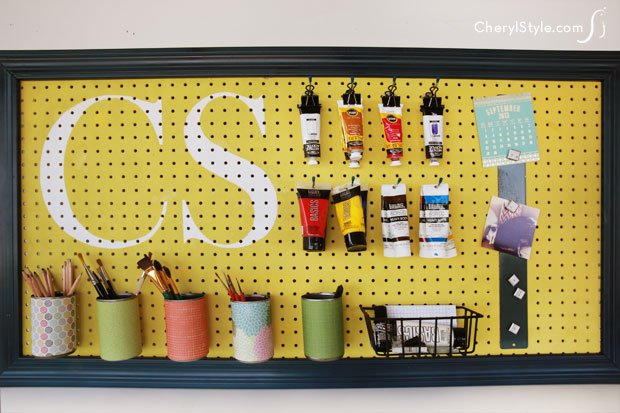
Paint pegboard organizer
Here at Everyday Dishes & DIY, our craft room’s bursting at the seams with supplies and works in progress. We’ve got to stay organized so we decided to do it with style by making our own paint pegboard organizer.
We’re not going to kid you—this project requires a chunk of change to the tune of $65 as well as some skill but we think it’s awesome for crafts and will last forever! Think of it as a custom piece of furniture. It can easily be adapted for a number of uses in any room, so first decide where you’d like it to go, its size and if you want an optional frame for a more finished look.
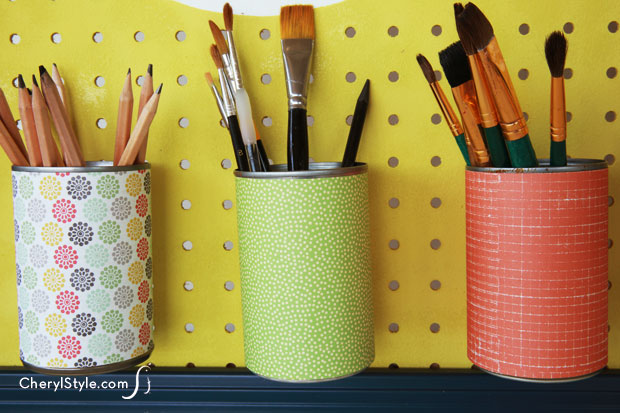
Find items at home for optional design features, such as tape or stencils, along with spray adhesive that allows for repositioning. Upcycle tin cans to wrap in scrapbook paper for the perfect paintbrush holders.
Check out our material list and instructions then head to your local hardware store. You’ll need a pegboard, of course, and furring strips for the top and bottom of the pegboard—they act as spacers so pegboard organizers can hang properly.
Spray paint, a drill and some basic hardware will have your pegboard ready for tin cans to be attached. You may need to grab an extra hand to hold the cans while you drill.
If you want to go all out and make a frame, cut molding using a miter box and saw—we said it’d be challenging! If you don’t have one, most home improvement stores have a station where you can miter right there.
Apply acrylic paint then use a tube of Liquid Nails and clamps to hold the frame together as it dries. Since you’ll have to use Liquid Nails again to glue the frame to the pegboard, place a nail in the end of the tube to prevent it from drying out—you’ll have no trouble finishing up the project.
Although it takes a bit of work, your art supplies will be front and center—more visible, at your fingertips and looking great on a custom designed pegboard.
How to make a paint pegboard organizer
- pegboard
- pegboard (we used a 4′ x 2′ pegboard)
- furring strips for top and bottom of pegboard
- acrylic paint for base layer
- stencil, tape, etc. for pegboard design (optional)
- spray adhesive that allows for repositioning (for stencil only)
- small foam paint roller
- small paintbrush
- acrylic paint OR spray paint for top layer (optional)
- small foam paint roller (if using acrylic paint for top layer)
- drill and drill bits
- 4 − #10 x 1″ wood screws
- mounting hardware
- pegboard organizers
- frame (optional)
- 4 pieces of molding (we used 2 – 50″ pieces and 2 – 26″ pieces)
- miter box and saw
- spray paint
- liquid nails
- rag
- clamps
- finishing pad
- tin can organizers
- 4−5 tin cans (depending on size of board)
- pliers
- permanent marker
- center punch
- hammer
- scrapbook or decorative paper
- double-sided tape
- 5 − 7 ½” zip ties
- duct tape
- scissors
- Select pegboard (if you are going to finish pegboard off with frame, make sure to allow for extra room so you don’t make it too big for the wall you want to hang it on).
- Decide on design for pegboard.
- Spray paint pegboard base layer, let dry.
- Apply design (stencil, tape, etc.) and apply top coat, let dry (if using stencil, spray lightly with adhesive to keep it in place).
- Peel back stencil or tape carefully, touch up with basecoat color if needed.
- Predrill then screw furring strip to top and bottom of pegboard (screw from front of pegboard through pegboard holes so screw is flush with pegboard surface).
- Attach mounting hardware to back of furring strip.
- Use miter box and saw to cut all 4 pieces of molding.
- Spray paint molding, let dry.
- Glue frame together with Liquid Nails, wipe off any excess glue then clamp and let dry.
- Sand any rough spots created by paint or glue with finishing pad.
- Spray paint frame again, if necessary.
- Lay pegboard painted side up and apply bead of Liquid Nails around perimeter.
- Place frame on pegboard and position so it’s square with pegboard.
- Clamp in place until dry (if you don’t have clamps large enough, use books or other heavy objects to keep frame firmly pressed to pegboard, just be sure to place wax paper between object and frame to prevent sticking).
- Smooth cut marks on top of tin can with pliers.
- Place tin cans where you want them on pegboard.
- Mark on back of can with marker where pegboard holes are.
- Use center punch and hammer on marks to dent for drilling (don’t hit punch too hard or you’ll dent the whole can, not just the mark).
- Drill through dent marks, work with someone to hold cans in place (make sure drill bit is large enough to accommodate size of zip tie).
- Break off any loose tin pieces on inside of can created by drilling.
- Wrap paper around can, cut where needed.
- Adhere paper to can with double-sided tape.
- Use center punch to break through paper.
- Attach can to pegboard with zip tie, pull tight and cut excess.
- Cut duct tape, cover holes and zip tie on inside of can.
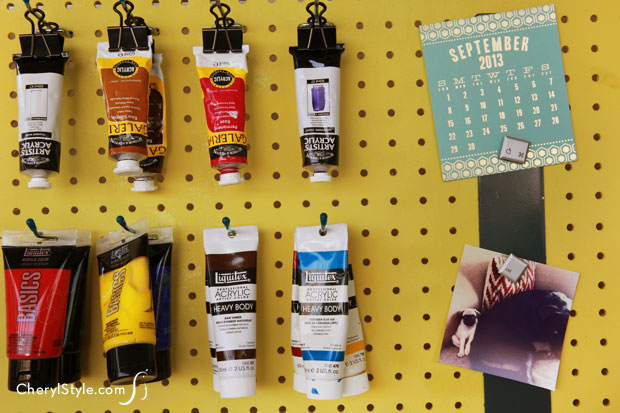
- Hang pegboard on wall, add pegboard organizers and fill with paints, brushes and other craft accessories.
- Stand back and enjoy your masterpiece!