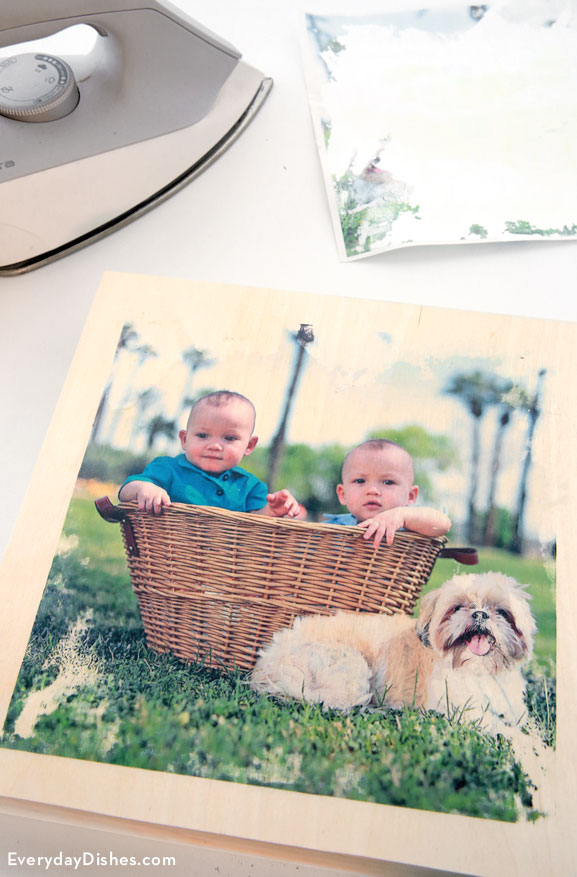
DIY Wood Photo Transfer
If you’re tired of sticking photos in the usual frame, why not grab your iron and make a wood photo transfer instead? Fabric transfer makes it easy to do in a quick 10 minutes.
Unfinished wood canvas is pretty versatile. It can be painted, stained or inked to transfer photos. Unlike fabric canvas, its texture is smooth and gives the finished craft a more contemporary feel.
Not all craft stores carry them so you may need to check out an art supply store or go online. With a variety of sizes available, you can make several to group together or create one big collage if your wall space allows.
This post includes links to purchase items you’ll need from our affiliates.
Wood photo transfer craft instructions
DIY Wood Photo Transfer Instructions
Ingredients
- iron
- photo
- full sheet iron-on fabric transfer
- scissors
- 10″ x 10″ x ¾” wood canvas
- sealant
Instructions
- Turn iron on high setting with no steam then set aside.
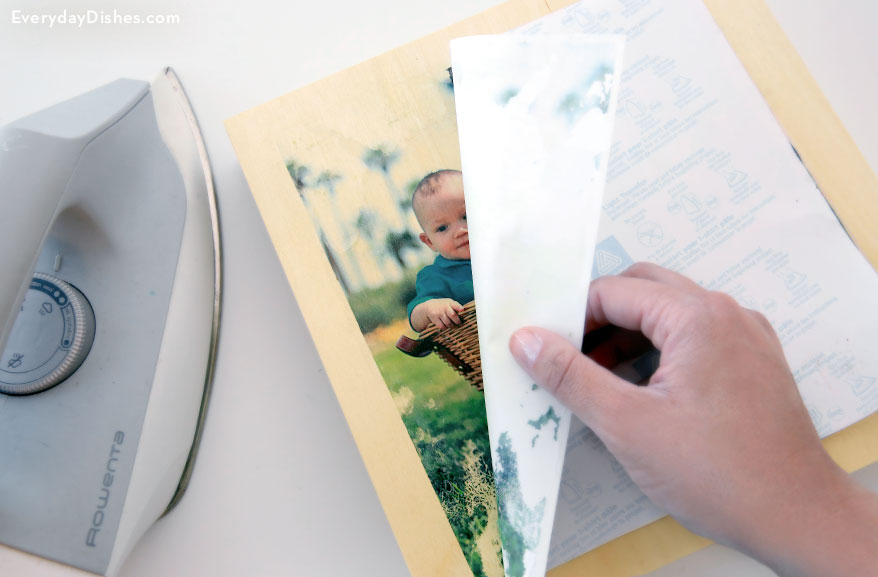
- Select and size desired photo then print out on a full size sheet of iron-on fabric transfer. Using scissors, cut around photo then tape face down onto wood canvas.
- Place iron on top of the fabric transfer, press firmly with both hands then move it over the entire surface for approximately 2 minutes.
- Allow the transfer to set for 30 seconds before carefully peeling away the backing to reveal your photo on the wood.
- Spray a heavy coat of sealant over the top and allow it to dry completely. Display on shelf.
Notes
Avoid photos that include letters or words. They’ll print out backwards!


