Zipper Bracelet
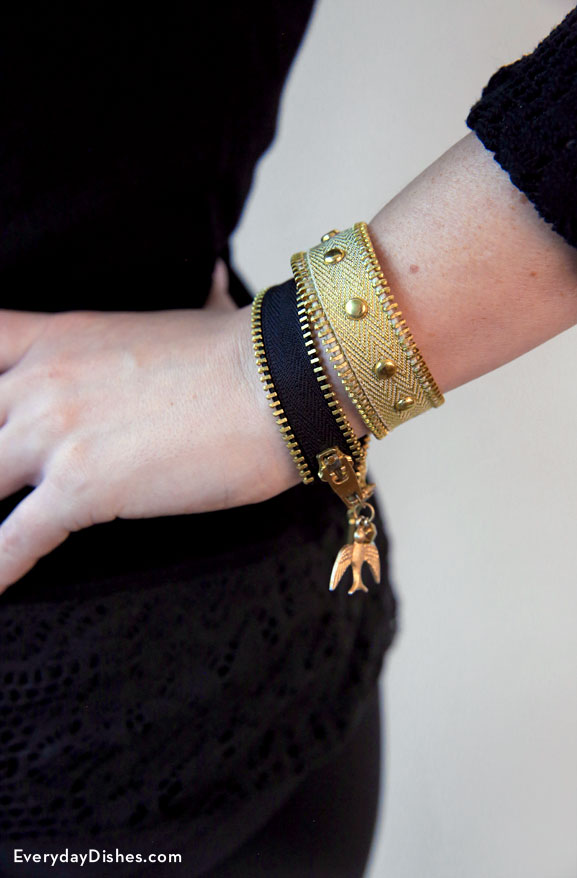
Think outside the box when it comes to jewelry! You’ll really make a statement with this unique-looking zipper bracelet that’s easy to make with hot glue, jewelry findings and pliers.
A seven-inch zipper is plenty long enough to fit the average-sized wrist. If your wrist is large, simply use a longer zipper.
You’ll need a second zipper pull in addition to the one that comes with the zipper. Pulls can be purchased separately so you don’t have to buy complete zippers. Better yet, check your outdated clothing for zippers and remove the stitching with a seam ripper.
Zipper bracelet instructions
Zipper Bracelet Instructions
Ingredients
- 7″ zipper
- 1 additional zipper pull
- scissors
- hot glue gun or industrial-strength glue
- studs
- embellishments (optional)
- hammer
- lobster claw clasp
- jump ring
- pliers
Instructions
- Unzip zipper. Cut both ends of the zipper off using scissors then remove zipper pull to separate. Set zipper pull aside.
- Wrap one piece around your wrist for size then measure and cut both pieces. We made ours 6″ long.
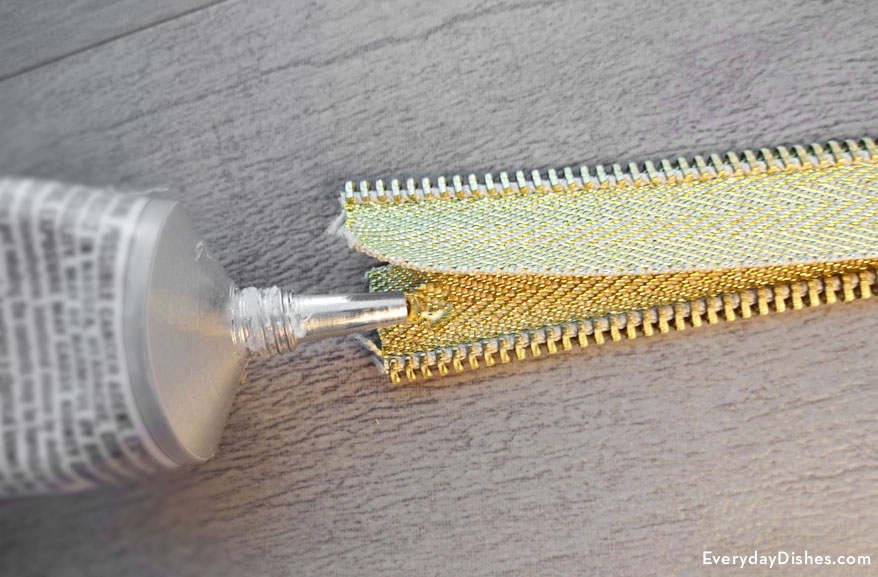
- Place one piece on top of the other so the teeth of the zipper run along both edges. Glue in place using hot glue or industrial-strength glue.
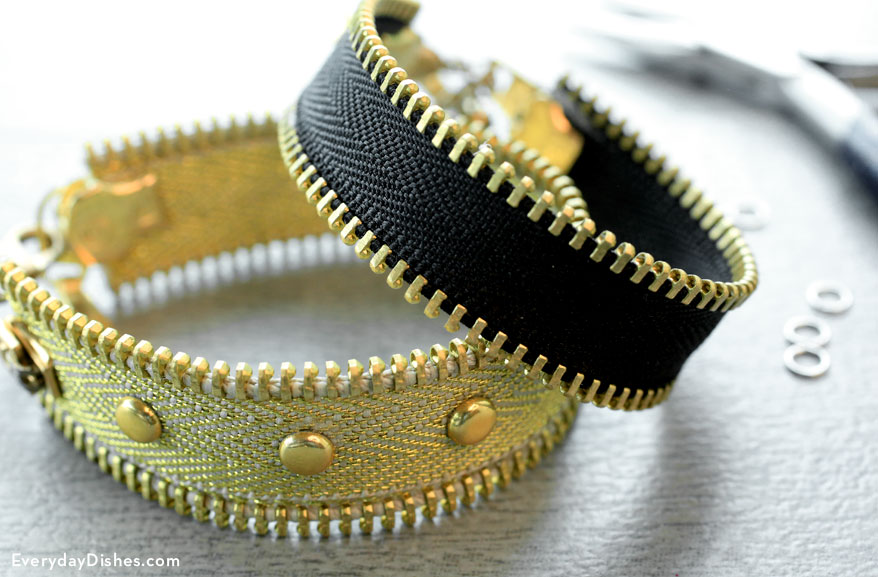
- Glue on studs or optional embellishments.
- Slide zipper pull onto one end of the bracelet and hammer closed to secure. Using a second zipper pull, do the same for the other end. Attach zipper pulls and lobster claw clasp with jump ring then close using pliers.
- Wrap bracelet around wrist. Open and close clasp to secure.
Notes
Style your bracelet with studs for the ‘rocker’ in you or keep it understated with just a few simple embellishments.


Preciosas le haré una a mi nieta. Gracias.