DIY decorated glass ornaments
You’ve vowed to plan ahead this Christmas by going through your old decorations early. You realize you’d like something extra special but not too costly.
Why not make our DIY decorated glass ornaments for the tree? The best part is that all of it costs less than $15 and it’s super simple to make!
This is a great opportunity to have the kids turn off the computer games and work together with you on this project.
We’ve come up with two different ways to make truly original ornaments.
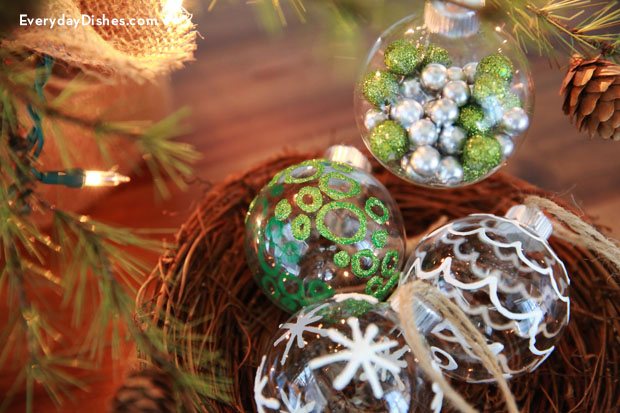
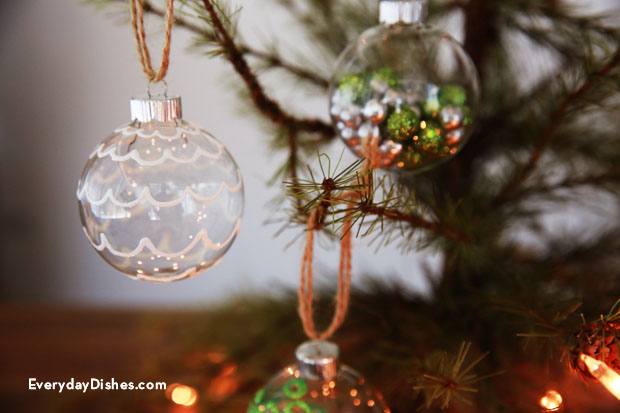
Puff paint ornaments are made by applying your own design to clear glass ornaments, which can be purchased online or at your local craft store. Bring out your artistic talent, or let the kids show you how imaginative they can be!
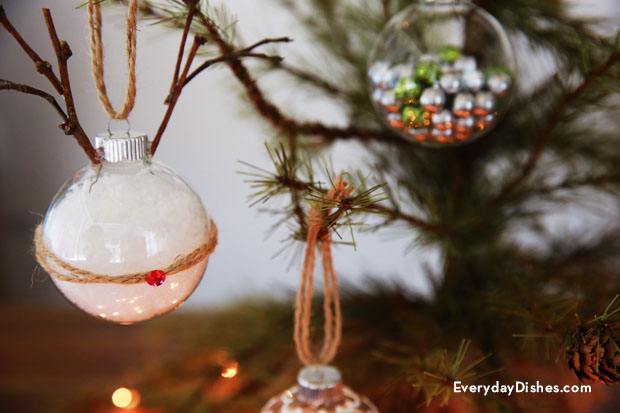
If drawing’s not your bag, tap your creativity by filling glass ball ornaments with glitter, artificial snow or miniature embellishments.
Any of these choices will result in fun, original decorated glass ornaments for everyone to enjoy.
- clear glass ball
- puff paint
- glitter
- embellishments
- ribbon
- ¼” wood dowel
- Draw design onto ornament with puff paint.
- Hang ornament from wood dowel over trash can or cardboard box and sprinkle with glitter while paint is still wet.
- Let dry on dowel at least 1 hour then carefully remove from the dowel.
- Hang with ribbon or jute twine.
- Remove top of ornament and fill with feathers and glitter, artificial snow or small ornamental balls from floral stems (don’t overfill–you’ll want to see light through ornament).
- Secure cap on ornament and hang with ribbon or jute twine.


