DIY jewelry box
A cigar box is the perfect size box for this project. If you don’t have one at home, you should be able to find one at a flea market, smoke shop or antique store.
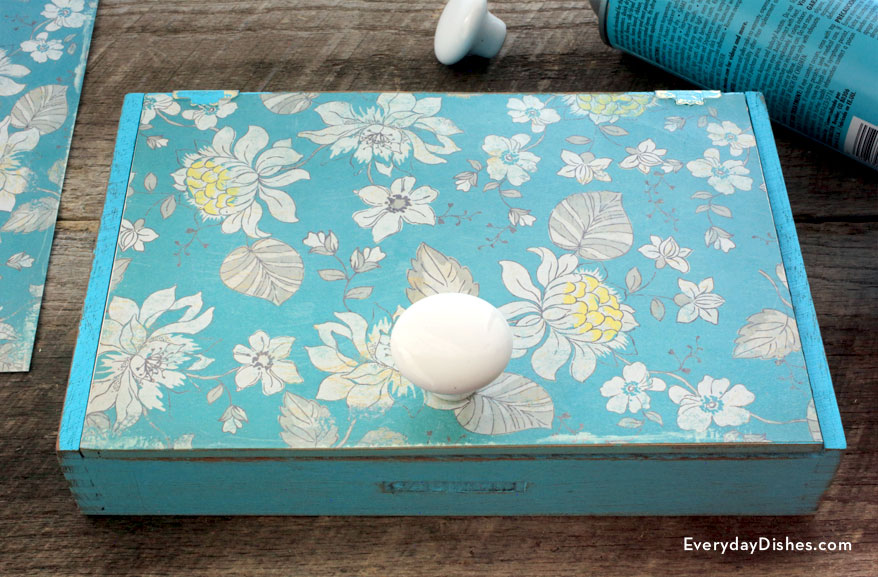
Pick out your favorite color paint and matching scrap fabric. Attaching a cute drawer pull to the top makes it more functional and there are tons of great options at the hardware store.
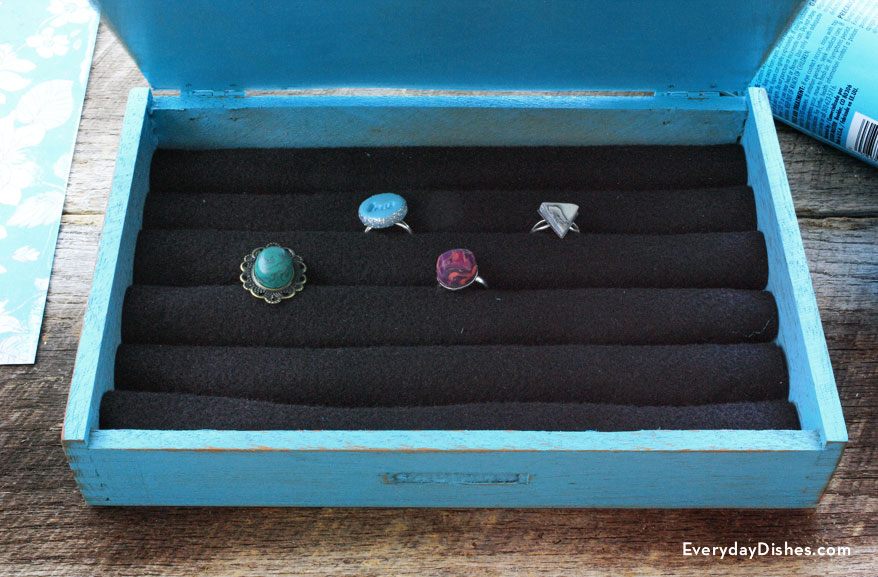
We lined our DIY jewelry box with sponges, which are perfect for holding rings. You’ll be shocked at how easy and inexpensive it is to make!
This post includes links to purchase items you’ll need from our affiliates.
DIY jewelry box instructions
how to make a DIY jewelry box
Ingredients
- cigar box
- spray paint
- sandpaper
- scrapbook paper or scrap fabric (optional)
- spray adhesive or craft glue
- black felt fabric
- hot glue
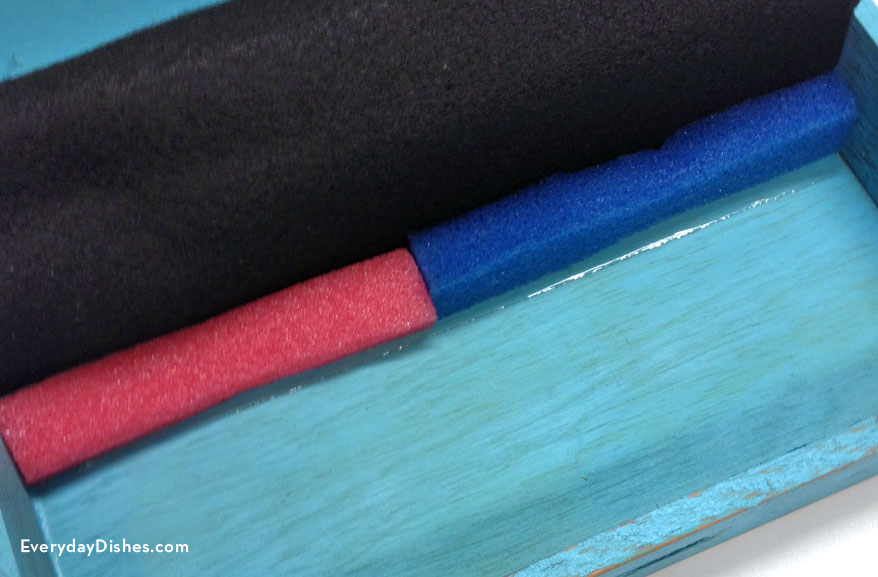
- foam sponges, cut lengthwise in ½” strips
- drawer pull (optional)
- industrial-strength glue for drawer pull
Instructions
- Spray paint entire cigar box then dry completely. Lightly sand edges and hinges for a distressed look.
- Measure and cut scrapbook paper to fit the top of the lid then glue in place with spray adhesive or craft glue.
- Measure and cut fabric the same width as the cigar box, but 5″ longer than its length.
- Starting at the rear of the box, add glue along the bottom inside edge to adhere one edge of the fabric. Drape the other end of fabric over the lid.
- Add glue along the bottom of the box as close to the fabric as possible. Glue 2 sponge strips in place (end to end) forming one long row. Add line of glue in front of sponges. Roll felt tightly over the sponges and adhere to bottom of box. Repeat steps, making sure to push each row as close as possible to each other so there are no gaps. Trim any excess felt when finished.
- Use industrial-strength glue to attach drawer pull to the lid, if desired.
Notes
For a more refined look, use a shadowbox frame. Just prepare to pay up—they’re expensive!


