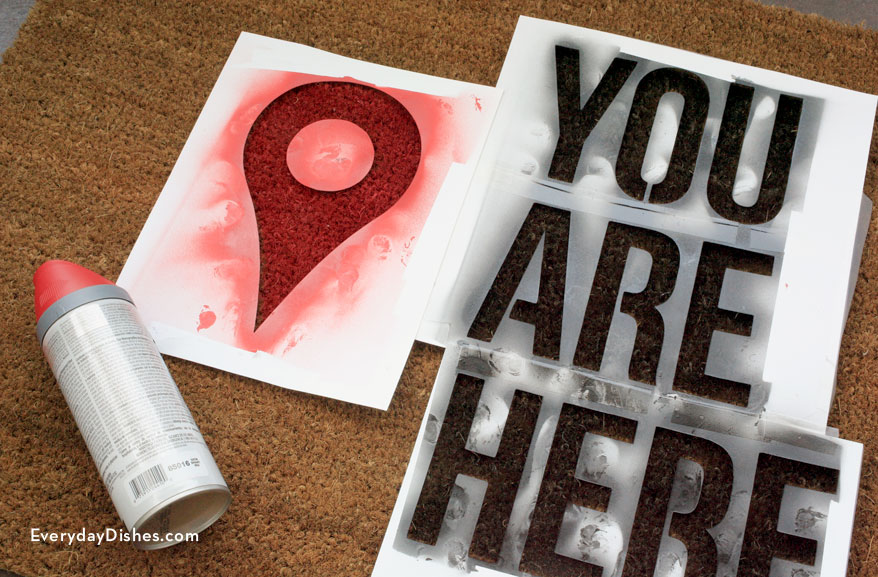
DIY stenciled doormat
Our printable stencils, spray adhesive and paint will have this craft finished in no time.
Stenciling is pretty easy, even for a beginner. The trick is to work in small areas and keep the stencil from shifting—you don’t want paint to seep underneath.
Follow a few short steps to have a stenciled doormat that’s unique and looks store-bought.
How to make a stenciled doormat
DIY stenciled doormat
Ingredients
- stenciled doormat printable
- card stock
- doormat (ours was from IKEA)
- X-acto knife
- paper to cover area not stenciled
- spray adhesive
- black and red spray paint
Instructions
- Download the stenciled doormat printable, then print onto card stock.
- Arrange stencils on doormat to make sure they’re going to fit. If the letters are too big or small, adjust the print scale in your printing options.
- Carefully cut out letters where indicated, using an X-acto knife (make sure you keep the center dot of map pin). Arrange again to make certain everything fits nicely on the mat.
- Starting with the first word, apply a heavy coat of spray adhesive onto the back of the stencil to help it stay in place. Lay it on the mat then cover the rest of the mat with paper to protect it from paint.
- Hold the black paint can approximately 6″ directly over the stencil, point straight and spray. If the stencil starts to shift, hold it down with your hand. Do small sections at a time to make sure paint doesn’t get underneath the stencil. Repeat with the remaining words, use red spray paint for the map pin then allow it to dry.
Notes
When spray painting a craft that lays flat on the floor, don’t hold the paint can at an angle—hold it directly over the craft about 6″ away.