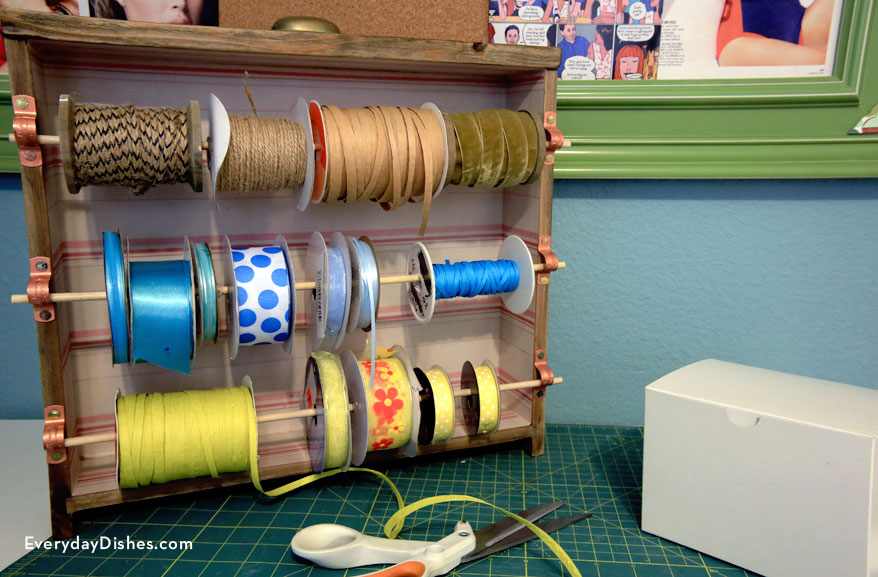
Ribbon rack organizer
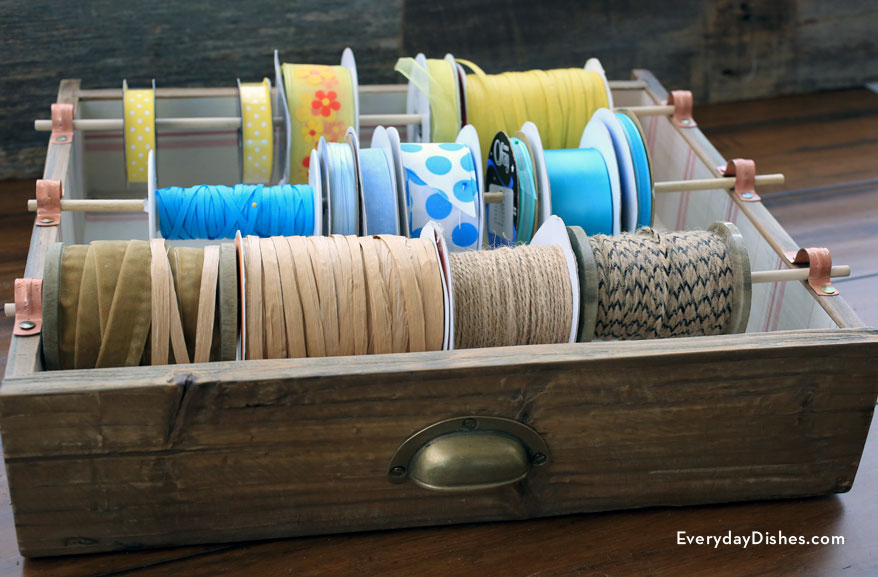
We’re all about repurposing so, when we saw this old dresser drawer, we just couldn’t resist. Rather than stuffing rolls of ribbons into drawers, we hung them up for a functional craft that keeps everything organized and within reach!
Using a drawer gives you a head start—all you need to do is measure, add some hardware and dowels. Just make sure your dowels are narrow enough to fit through the smallest spools of ribbon.
Leave your ribbon rack organizer natural or style it according to your tastes by adding patterned contact paper or paint to the inside.
Looking for more ways to use old drawers? Check out our map drawer craft!
Ribbon rack organizer instructions
how to make a ribbon rack organizer
Ingredients
- dresser drawer
- measuring tape
- pencil
- wooden dowels
- small hand saw
- sandpaper
- ½” copper-plated tube straps
- drill or screwdriver
- rolls of ribbon
- hanging hardware (optional)
Instructions
- Measure the width of your drawer to determine what size to cut your dowels. Using a small hand saw, cut 3 wooden dowels 1.5″ longer than the width of the drawer. Sand down the edges then set aside.
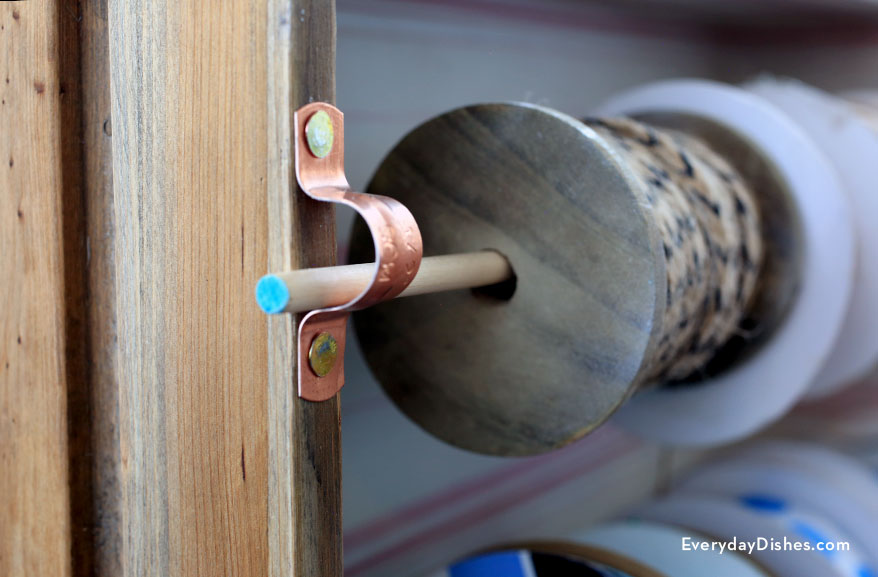
- Measure the placement of the tube straps 1.5″ from the top, 2.5″ in-between and 1.5″ from the bottom—use our photo as a guide. Screw hardware in place using a drill or screwdriver.
- Place wooden dowels through rolls of ribbon then insert into the tube straps.
- Display on your craft table or hang it up on your wall!
Notes
Making a starter hole for hardware that requires screws makes the job much easier to accomplish!