DIY lazy Susan
Asian restaurants were really on to something when they started using lazy Susans. A plate that swiveled made it much easier to share a variety of dipping sauces and food.
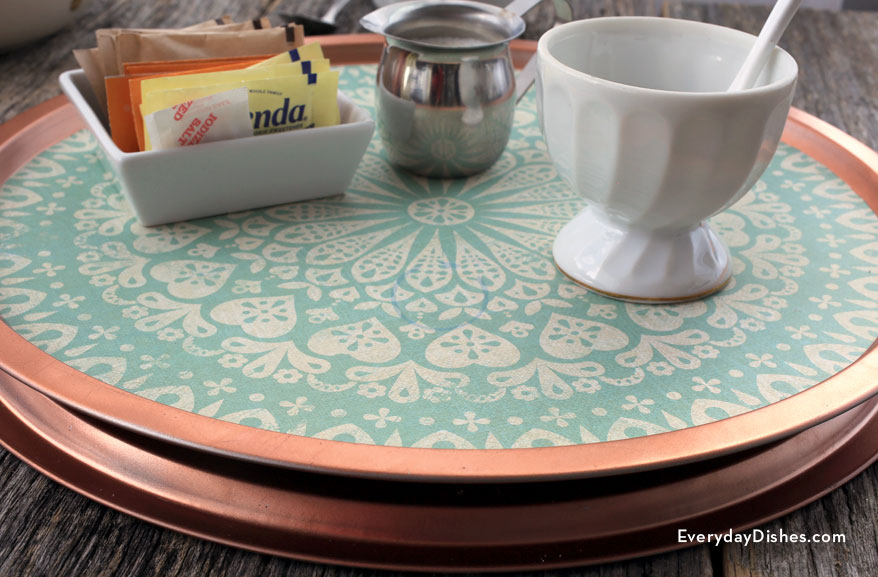
We like using one to keep condiments within arm’s reach but it’s large enough for appetizers or desserts as well.
Don’t be intimidated by having to buy a ball-bearing turntable—it doesn’t cost much and you can always enlist a salesperson to help you find the right size.
This post includes links to purchase items you’ll need from our affiliates.
How to make a lazy Susan
how to make a lazy Susan
Ingredients
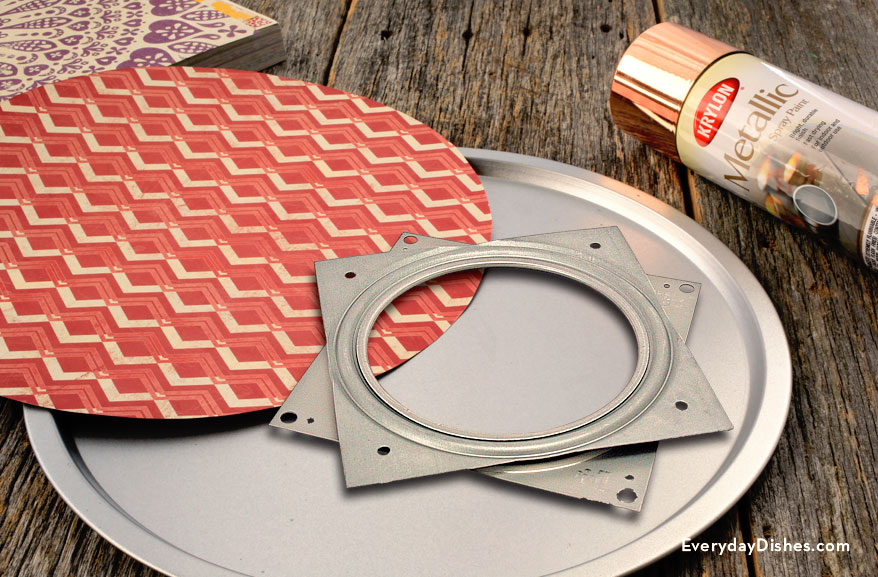
- 2 – 12″ pizza pans
- spray paint
- patterned scrapbook paper
- pen or pencil
- scissors
- Mod Podge
- lazy Susan turntable bearings
- industrial-strength glue
Instructions
- Spray an even coat of paint onto front and back of each pizza pan. Allow to dry completely.
- Place one pizza pan face up onto scrapbook paper, trace around the bottom then cut out. Adhere the cutout onto the pan using Mod Podge and allow to dry.
- Add a protective layer of Mod Podge to the top of the scrapbook paper circle. Let dry.
- Turn the second pan over face down, for the stand. Measure and mark the center. Apply industrial-strength glue to one side of the turntable then adhere it to the center of the pan, pressing firmly to secure. Apply more glue to the remaining side of the turntable then adhere the other pan, face up. Allow the glue to dry for at least 5 hours.
- Place at the center of your dinner table and add salt, pepper, or any other condiments that will be utilized!
Notes
A lazy Susan isn’t just for condiments—it’s perfect for making board games easier to play!