Easy DIY Foam Mask Craft
This DIY foam mask craft is super fun, easy and inexpensive! The kids can recreate their favorite animals from the zoo or even turn into a superhero!
All you need to do is grab your old sunglasses, or buy cheapies from the local super-store then get crafty! It’s time to put old buttons, discarded sequins, the boa from your sister’s bachelorette party and glitter to good use!
It’s all about the hot glue if you’re helping the kids with their masks, but if your little ones are getting crafty on their own, tacky glue will do just fine. Just be sure take over or supervise hot gluing the foam face to the glasses.
Share their DIY foam mask crafts with us on Facebook, Twitter and Instagram using #EverydayDishes.
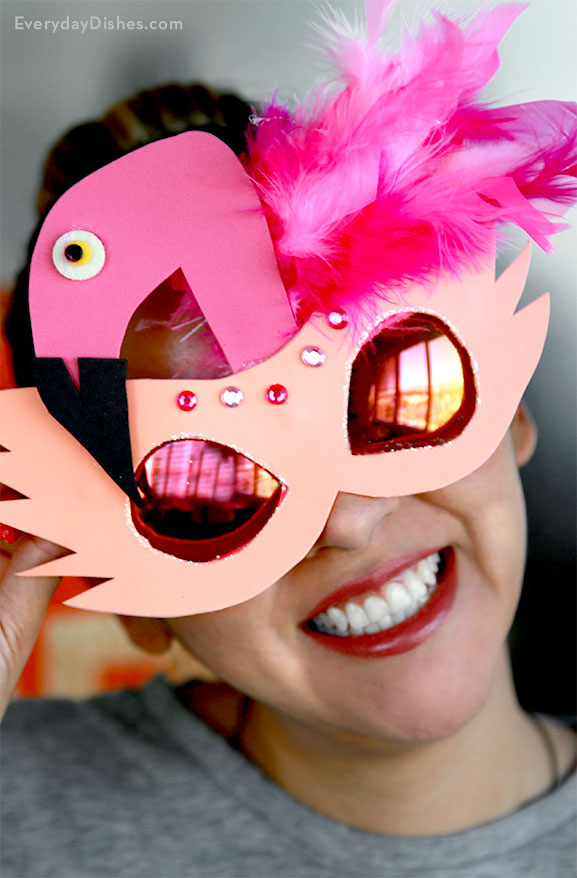
DIY foam mask
DIY Foam Mask Instructions
Ingredients
- craft foam, in assorted colors
- scissors
- precision knife, if desired
- hot glue gun
- hot glue sticks
- tacky glue
- inexpensive or upcycled plastic sunglasses
- miscellaneous embellishments such as feathers, googly eyes, glitter, felt, etc.
Instructions
- Cut out desired face shape—animal shapes are always fun—out of craft foam using scissors. If older kids are making this craft, an X-acto knife will work even better! Then trim out two holes for the eyes and set aside.
- Craft facial features for the mask using scissors, craft foam, felt or other miscellaneous materials to create ears, noses, etc.
- Glue embellishments onto the foam mask using either hot glue or tacky glue.
- Attach the mask to the sunglasses using hot glue—start with attaching the nose bridge of the mask to the center of the sunglasses, then dab hot glue on both sides where the glasses arms meet the frame and secure. Set aside to dry, then enjoy!
Notes
It’s not a party unless there’s a mask involved! These DIY foam masks are great for any kind of celebration!