DIY Rubber Stamps
Make super cute dishtowels using DIY rubber stamps! An inexpensive stamp set and fabric paint will work well on just about any material, so dig out those solid colored shirts or tote bags and get started!
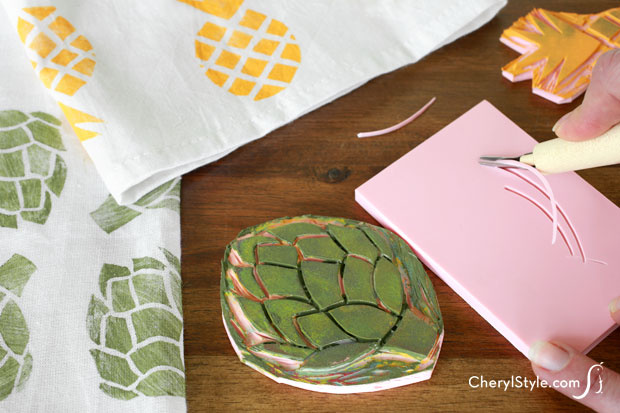
We used kitchen towels and printables to get us started, but if you’re feeling ambitious you can draw your own design and transfer it to the stamp block. Just remember to place it face down on the block and only cut out the negative space surrounding the design!
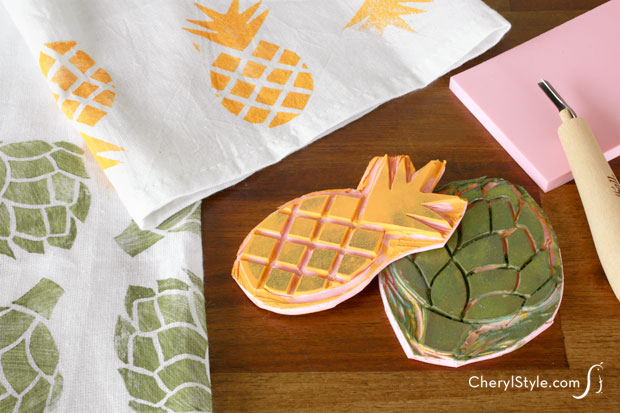
Once you’ve transferred and cut out your design, you’ll want to practice stamping on scrap fabric a few times. Figure out how you’d like your pattern to look and how much paint to use with each stamp then go for it! You’ll end up with a one-of-a-kind design that suits your taste and décor perfectly.
DIY rubber stamps
- rubber stamps printable
- scissors
- pencil
- stamp making kit
- fabric paint
- paintbrush
- tea towels
- Download the rubber stamp printable and open in Adobe Reader.
- Print and cut out desired stamp template where indicated. Trace the graphic with pencil then place face down onto your stamp block or eraser. To transfer the traced graphic onto your block, rub the back of it using your fingernail.
- Once the design is transferred to your stamp block, begin to cut out the negative space surrounding the design using the cutter. Make sure not to cut the design itself.
- Next, add paint to your paintbrush and apply to the design on the stamp.
- Practice stamping your pattern on a scrap piece of fabric to see how it turns out and to get a feel for the amount of paint you want to use. Stamp once and reapply paint every time. Once you’re pleased with the results, carefully begin to stamp your towels or other fabric. Allow them to dry then hang and admire!


