DIY felt gift boxes
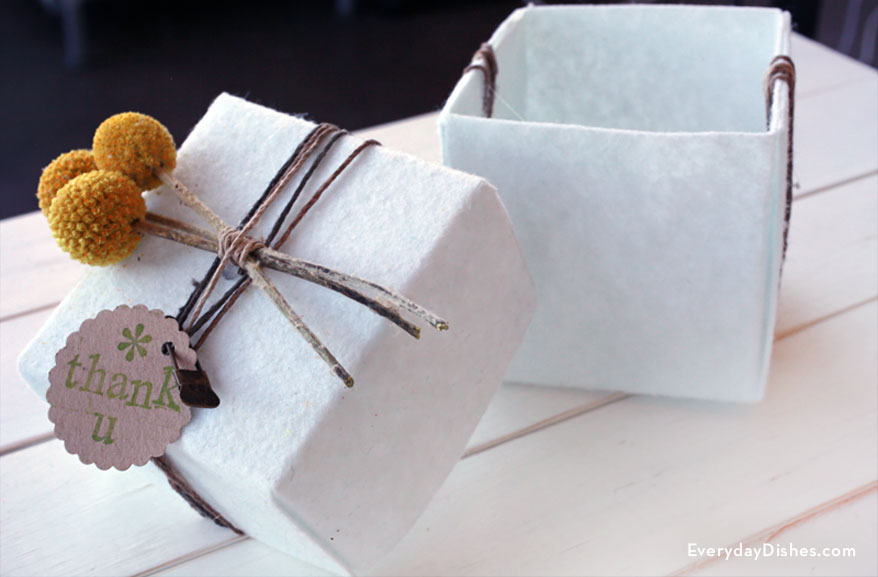
Big things like diamond rings may come in small packages, but even the least expensive present deserves attention. Our DIY felt gift boxes make any small gift extra special. Our printable and instructions show you how make and embellish them like a pro for just pennies.
Download and print our Everyday Dishes & DIY felt box printable on an 11″ x 17″ sheet of paper. If your printer does not support this large size, follow our instructions below to tile it on letter size paper.
Head to your cutting mat and cut out the template, using an X-acto knife and metal ruler. Place the template on stiffened felt then cut it out using a rotary fabric cutting tool—if you don’t have one, simply use your trusty X-acto knife and ruler again.
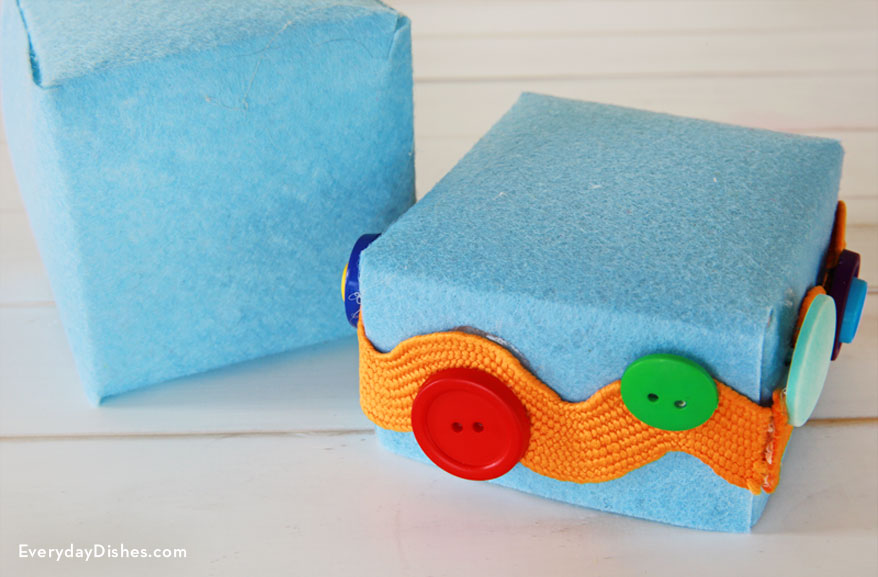
Fold where indicated using a ruler—a bone folding tool or the back of a dull knife or spoon will ensure a crisp fold mark. Grab a hot glue gun to dab glue on the squared flap, adhere the angled flap to it and secure to form a perfectly square box.
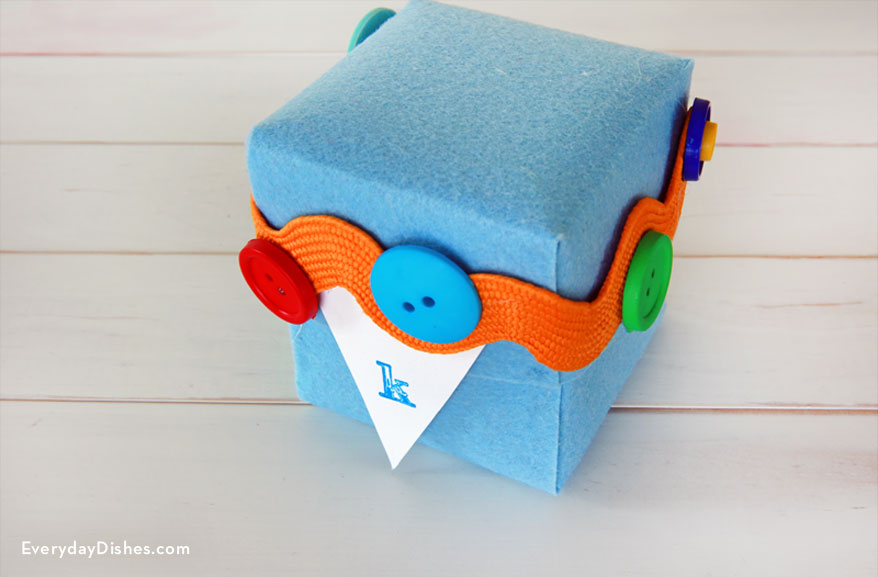
Pinch edges together then search your craft supplies for Ric Rac, buttons, flowers, or anything else you might discover lurking in your stash. For a truly unique and super inexpensive finish, make one of our three DIY felt bows.
However you choose to decorate your gift boxes, the recipients are sure to appreciate it.
How to make DIY felt gift boxes
- DIY felt box printable
- X-acto knife
- metal ruler
- cutting mat
- 1 – 12″ x 18″ stiffened felt sheet
- rotary fabric cutting tool or X-acto knife
- bone folding tool (or a dull knife or spoon)
- hot glue gun
- embellishments
- Download the [url href=”https://everydaydishes.com/wp-content/uploads/2013/11/diy-felt-gift-boxes-everydaydishes_com-template.pdf” target=”_blank” title=”DIY felt gift boxes”]DIY felt box printable[/url] and open in [url href=”http://get.adobe.com/reader/otherversions/” target=”_blank” title=”Adobe Reader”]Adobe Reader[/url].
- Print out the template (if you don’t have a printer large enough to accommodate an 11″ x 17″ sheet of paper, [url href=”http://helpx.adobe.com/acrobat/kb/print-posters-banners-acrobat-reader.html” target=”_blank” title=”Tiling Instructions”]tile it on letter size paper following these instructions[/url]).
- Cut out template on cutting mat using X-acto knife and metal ruler.
- Place template on stiffened felt and cutting mat, cut out with rotary fabric cutting tool or X-acto knife using ruler as guide.
- Fold where indicated using metal ruler; use bone folding tool (or back of dull knife or spoon) to make a crisp fold mark.
- Place small dab of glue on top side of squared flap; bring angled flap over and secure to squared flap (flap edges should be even to form a perfectly square box).
- Apply additional hot glue along seam to secure firmly in place, if necessary.
- Allow glue to cool slightly then pinch edges together for crisp edge.
- Embellish with Ric Rac, buttons, stamped paper, flowers or string.