Rope Trivet
You don’t need a sailor’s expertise with knots when it comes to making our rope trivet. Just work in small sections to coil the rope and hot glue it in place.
Versatility is the name of the game with this craft. We used five yards of rope to make an eight-and-a-half-inch trivet, but you can adjust the length of the rope to make any size trivet you need.
As you coil the rope, occasionally press it down onto your work surface so it will lay flat. Don’t cover your work surface or the trivet will end up sticking to the paper!
It can take a lot of time planning a pattern that involves knots and then wrapping different colored threads or strings onto the original rope. So, we chose to speed things up and paint a border instead. Total time? Less than thirty minutes.
How to make a rope trivet
- 5 yards of ⅜” rope
- hot glue gun
- scissors
- acrylic paint and brush
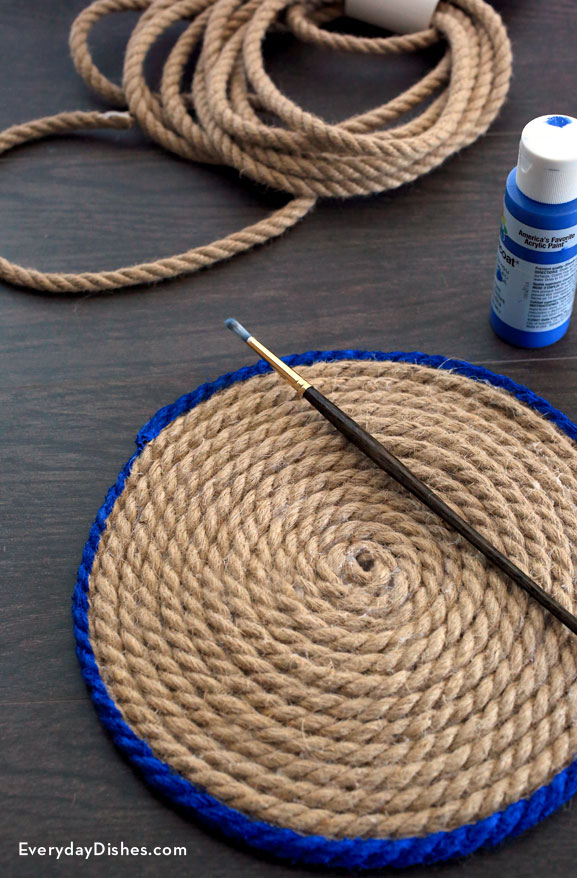
- Seal one end of rope with hot glue to prevent it from unraveling then begin to coil and glue small sections of the rope at a time. Press firmly into place and smooth excess glue with your fingers before moving on to the next section.
- Once completed, trim away any excess hairs with scissors.
- Mix your paint with a dab of water—just enough so it will flow—then use an artist’s brush to paint a border on the outermost coil of rope, including the edge. Allow it to dry and you’re set to go!