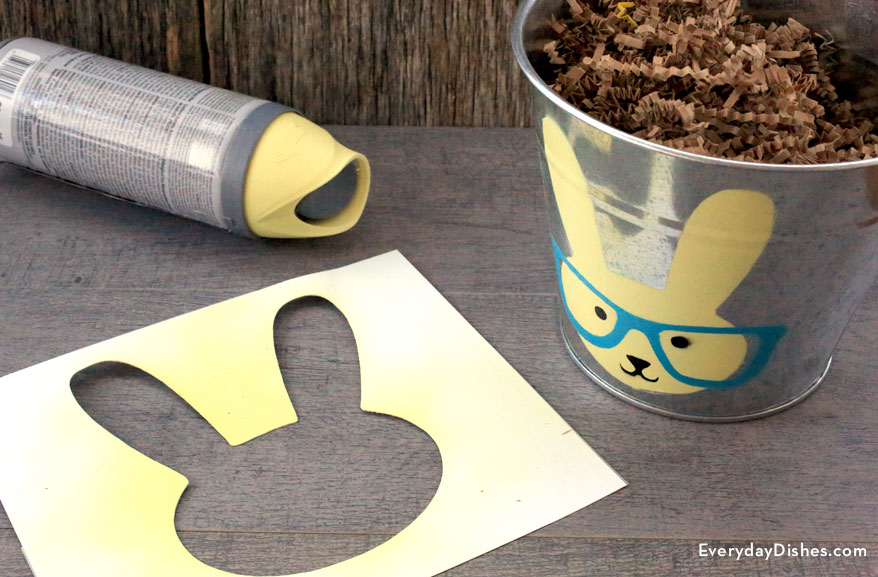
Stenciled Easter bucket
We used a bucket that was 6″ tall for our stenciled Easter bucket, but you can resize the template to accommodate smaller buckets—not a bad idea when you have to provide for lots of kids.
Don’t want to mess with spray paint? Simply trace around our template and paint by hand. Once the holiday’s over, stack the buckets together and cover with plastic to keep them dust-free.
How to make a stenciled Easter bucket
How to make a stenciled Easter bucket
Ingredients
- stenciled Easter bucket template
- card stock
- scissors
- spray adhesive
- tape (optional)
- tin bucket
- paper to cover area not stenciled
- spray paint
Instructions
- Download the [url href=”https://everydaydishes.com/wp-content/uploads/2015/03/stenciled-easter-bucket-template-everydaydishes_com.pdf” target=”_blank” title=”Stenciled Easter bucket template”]stenciled Easter bucket template[/url] and open in [url href=”http://get.adobe.com/reader/otherversions/” target=”_blank” title=”Adobe Reader”]Adobe Reader[/url].
- Print out bunny’s head, features and glasses on card stock then cut out where indicated.
- Spray adhesive on the back of the stencil for the bunny’s head then center it on the bucket and press to adhere. Further secure with tape, if necessary.
- Cover remainder of the bucket with paper to protect it from paint. Hold the can of spray paint about 6″ over your stencil (not at an angle), point straight down and lightly spray. Once painted, lift off the stencil then allow the paint to dry completely.
- Repeat the process, using stencils for the features and then the glasses.
- Once dry, fill with raffia and candy.
Notes
When spray-painting stencils, hold the can about 6″ directly over your stencil rather than at an angle. Point straight down and apply a light, even coat of paint.

