Everything You Need to Know About Homemade Bisquick
Have you ever ended up with a little “bitter-tasting” cake just because you put too much baking powder into the batter? Well, we all have been there. Baking is indeed a science that requires precise measurement. One little slip-up and your recipe is doomed. If you don’t pay attention to the measurement, baking is just a hit or miss.
And for those who keep messing up all of their baking attempts, the pre-measured and premixed batter – Bisquick is nothing short of a blessing. Bisquick is the brand name for the all-purpose baking mix; it contains leavener, flour, salt, sugar, and fat. You only just need to add some wet ingredients like milk or water, eggs, and some butter before you prep the batter.
While you can buy the original Bisquick mix from the store, knowing how to make it by yourself has its perks. For one, if you ever forget to grab a box of Bisquick on your grocery run or even run out of it, you can just prepare your own Bisquick mix. Besides, homemade Bisquick mix is more cost-effective and healthier than a store-bought one.
How to Make Homemade Bisquick
Preparing a homemade Bisquick mix just requires five minutes of your time. And for the Bisquick recipe, you just need to add four basic ingredients- flour, shortening, baking powder, and salt; chances are, you might already have all the ingredients in your pantry. You can also add cornstarch and sugar to the mix, but it is optional.
Adding cornstarch in the homemade Bisquick mix serves two purposes at once- it will make the final product fluffier and give a crunchiness to the food. For instance, if you are preparing the mix for baking biscuits or waffles, you shouldn’t skip out on adding some cornstarch in the mix.
Here’s What You Will Need for the Bisquick Mix
- 5 ½ cups All-purpose flour
- 1 cup Vegetable shortening (chilled)
- 3 tablespoon Baking powder
- 1 tablespoon sugar (optional)
- 2 teaspoon salt
- ¾ cup Cornstarch (optional)
Preparing the Mix
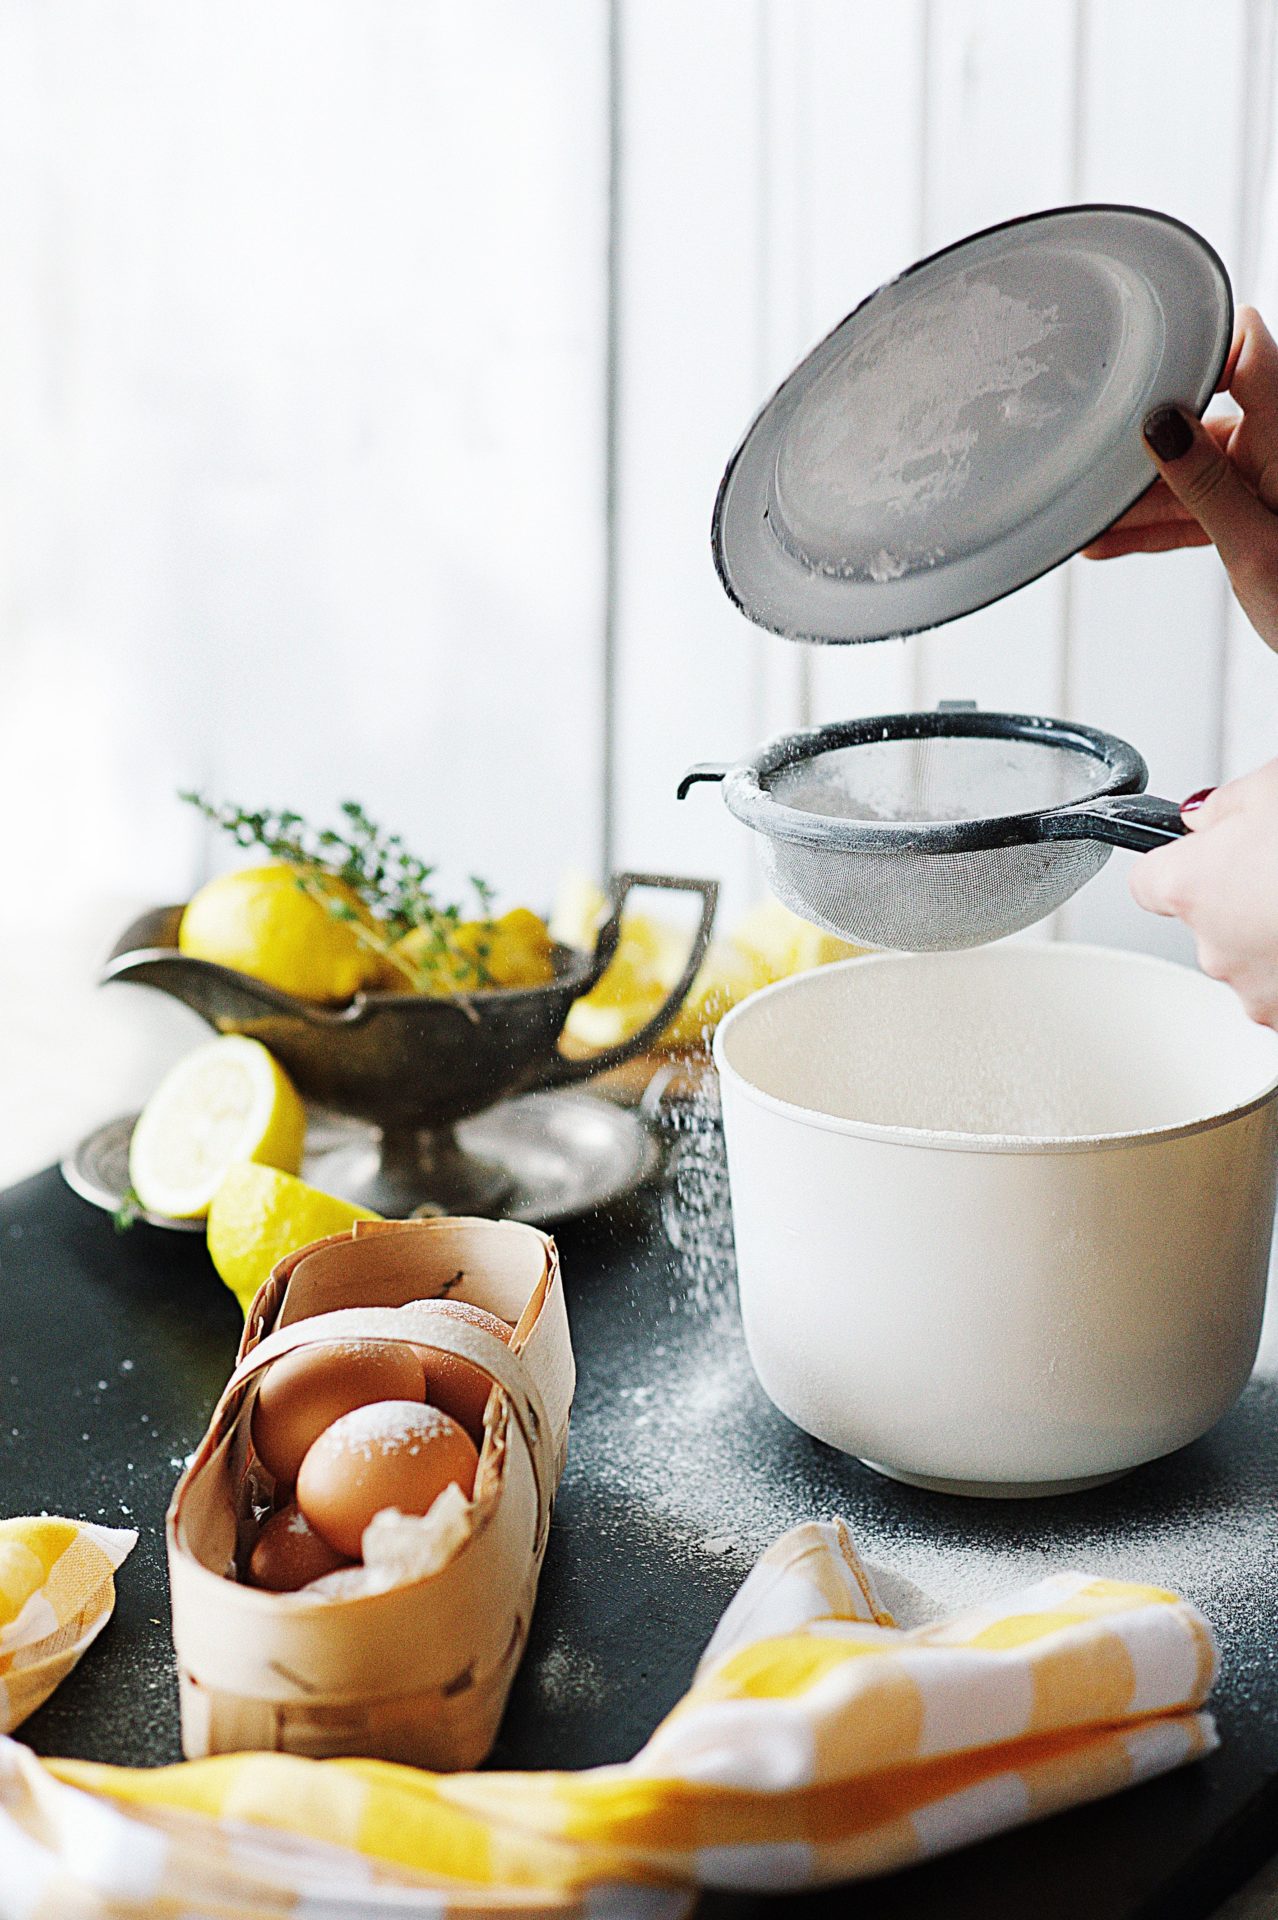
- Sift all-purpose flour, baking powder, salt, and cornstarch into a mixing bowl.
- Whisk the dry ingredients, so they are combined well.
- Cut the shortening into the mixture with an electric food processor or mash them with a pastry blender.
- Pulse the food processor until the mixture resembles coarse sands.
- Store the mixture in an airtight container.
Do You Need a Food Processor for Preparing Bisquick Mix?
For those who loathe the idea of hand mixing, a food processor is a must for Bisquick mix. In case you don’t have one, you can cut in the shortening using a fork or a large spoon until it forms small crumbs. Combine all the ingredients by hand and make sure there are no clumpy bits of shortening.
You really need to incorporate the shortening and flour well. It should resemble the texture of coarse sand and form a little clump when rubbed between your fingers.
Depending on the amount of the ingredients you put in, it might take a good chunk of your time to mix them well with your fingers. We recommend using a food processor if you are batch prepping more than six cups of Bisquick mix.
Can You Use Butter in Your Bisquick Mix?
You definitely can use butter in your Bisquick mix. But there’s just one downside of using butter in the mix: you need to keep it refrigerated and use it within 1-2 months of preparation. So unless you want to remix a fresh batch of Bisquick every other month, just keep butter out of the ingredients.
Instead of all butter or all shortening, you can also try a shortening and butter mix. Just make sure you don’t mess with the proportion.
What Can You Use If You Don’t Have Shortening?
The reason why almost all homemade Bisquick recipes use shortening is to ensure its long-term storage. However, you can also use lard instead of shortening in your Bisquick mix. Besides, using lard is a much healthier option than using shortening that contains trans fat.
How to Store Homemade Bisquick
You can store your homemade Bisquick in an airtight mason jar and keep it in a cool, dry place. Keeping it in the refrigerator is also an option if you have enough space left in your fridge. Make sure you put the date on the jar, so you don’t forget the preparation date.
You can store the Bisquick mix in the refrigerator for up to three months. As it doesn’t have the chemical stabilizer that the store-bought one has, you should not take the risk of using them longer than that.
How to Use Homemade Bisquick
You can use your homemade Bisquick mix for any recipe that requires an all-purpose flour or baking mix. From sweet to savory, Bisquick mix will fit right in with all types of baking recipes. Aside from the usual pancake, waffles, or biscuits, you can also make some dumplings, pies, or even onion rings out of the mixture. Here are some quick recipes you can make out of your homemade Bisquick mix-
Waffles
What you will need
- 2 cups Bisquick mix
- 2 tablespoon sugar
- 1 egg
- 1 1/3 cup milk
- 2 tablespoon Oil or melted butter
How to make it
- Preheat and grease the waffle iron.
- Mix the dry ingredients with milk, egg, and butter and prepare a batter.
- Pour the batter into the hot waffle iron, close the lid and cook for 5 minutes.
- Remove from the heat, extract the waffle and serve.
Pancake
What you will need
- 2 cups Bisquick mix
- 2 eggs
- 1 cup milk
- 2 tablespoon sugar
How to make it
- Combine the Bisquick mix, eggs, milk, and sugar in a bowl, make sure there are no lumps.
- Grease and heat a skillet.
- Pour some batter into the hot skillet, add some topping (dried fruit or chocolate chips).
- flip to the other side once you see the bubbles forming.
- take it out of the skillet when cooked.
The Bottom Line
Even if you are not a fan of premixed batter and like to go about it in the traditional way from scratch, having a premixed flour will just make you more efficient. Besides, if you are preparing it by yourself, it still counts as from scratch. The only difference is you batch prepped the mix earlier. And there is less chance of messing up the proportion and measurement.


