How to Make Cherry Hand Pies Video
One of my all-time favorite desserts has got to be cherry hand pies. They are adorable, incredibly delicious and can be eaten on the go—although not without a napkin or two!
I prefer to make my own filling instead of using canned filling, as it’s easy to do and I really think it tastes better. I’ve got no problem using frozen piecrust though, as it’s such a huge time-saver!
If you want to cut the sugar in this recipe, feel free to replace it with one quarter cup Truvia sugar substitute and add 2–4 tablespoons of water to help thin out the filling.
Serve these yummy hand pies at parties, on a picnic or even in a lunch box, but in my opinion they are best when still warm from the oven. YUM!
How to Make Cherry Hand Pies Recipe
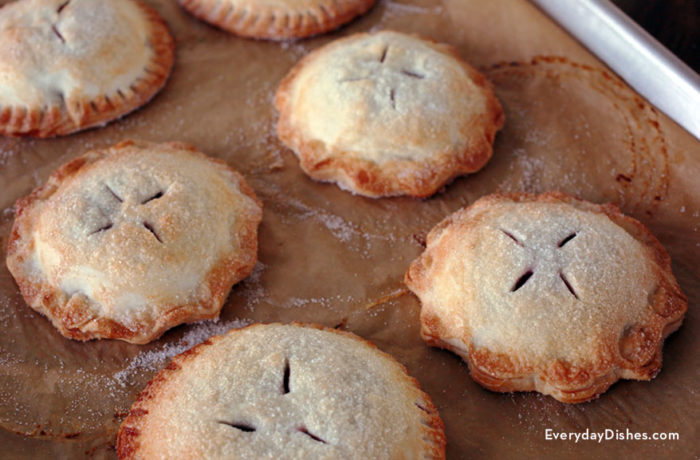
Cherry hand pies are easy to make and an adorable treat. Get ‘em while they’re hot!
Ingredients
Yield: 14 pies
- 4 in pie crusts, frozen, in their tins, or 2 boxes of prepared pie crusts
- 1/2 cup granulated sugar
- 1/4 tsp salt
- 3 Tbsp cornstarch
- 3 Tbsp water, cold
- 16 oz bag cherries, sweet, frozen, pitted
- 1 tsp lemon juice
- 1 egg, lightly beaten
- pastry brush
Instructions
- Separate pie crusts and leave on the counter to defrost for 30 minutes (or place in the fridge the night before and set them out while you prepare the cherries).
- Mix sugar and salt in a small mixing bowl then set aside. Whisk together the cornstarch and water to make a slurry. Set aside. NOTE: When working with fresh fruit, the amount of thickener you need depends on how ripe the fruit is. If you’re using super sweet, ripe fruit, increase the cornstarch by 1 or 2 Tbsp.
- The secret to this next step is to not over-stir (a.k.a., don’t go stir crazy—sorry, I couldn’t resist). Place cherries in a medium saucepan over medium heat. When the cherries start to bubble all the way around the edges of the pan and release their juices (about 2 minutes), stir in the sugar and salt. Only stir the cherries until all the sugar is moist. Then let the mixture sit until it starts to bubble around the edges of the pan. At this stage, whisk the slurry one more time before adding it to the cherries. Gently stir to combine. It will come to a soft boil; cook for about 2–4 minutes. The mixture should start to thicken and go from opaque to a deep red color. Don’t be tempted to stir the cherries at this point, or the starch will break down.
- After about a 1–2 minutes, drag your spoon across the bottom of the pan and if the juices have come together and formed a glaze, remove from heat and gently stir to scrape up any glaze that has started to stick to the bottom of the pan—but stir as little as possible.
- Gently stir in lemon juice then let cool completely. If the filling still seems too thick, simply add a little more lemon juice to thin it out.
- Meanwhile, preheat the oven to 375 degrees. Remove pie crusts from their tins and roll out onto a lightly floured surface about ⅛" thick. Then cut 14 rounds from two of the pie crusts using a 3" round pastry cutter and then 14 rounds from the other two pie crusts using a 3½" round pastry cutter to make the bottoms and tops of the hand pies, respectively.
- Place approximately 1–2 Tbsp cherry pie filling in the center of the smaller round, leaving a half-inch border around the edges. Then place the larger pie rounds on top of each filled round, pressing along the edges to seal then crimping with your fingers or the tines of a fork for a decorative effect. Then cut three small vent holes into the top of each pie. This will allow steam to escape while they’re cooking.
- Place pies on a baking sheet lined with parchment paper and brush each pie with egg wash. Sprinkle generously with granulated sugar and bake 14–16 minutes, or until golden brown along the edges.
Notes
We love these with a dollop of vanilla ice cream for an extra decadent dessert!
Calories: 318kcal, Carbohydrates: 37g, Protein: 4g, Fat: 17g, Saturated Fat: 4g, Polyunsaturated Fat: 5g, Monounsaturated Fat: 8g, Cholesterol: 15mg, Sodium: 314mg, Potassium: 109mg, Fiber: 2g, Sugar: 11g
Tried this recipe?Mention @EverydayDishes or tag #everydaydishes!