The Guide To Making The Ultimate Drip Cake
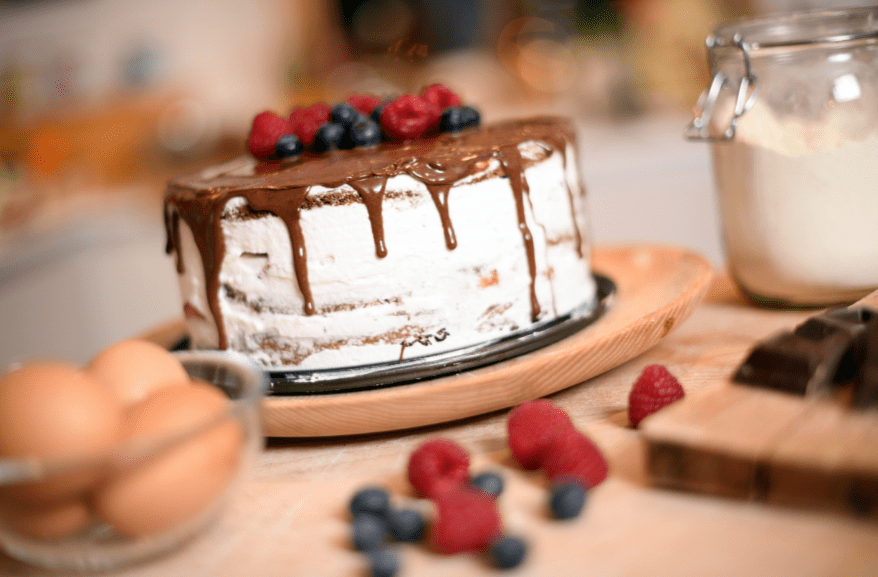
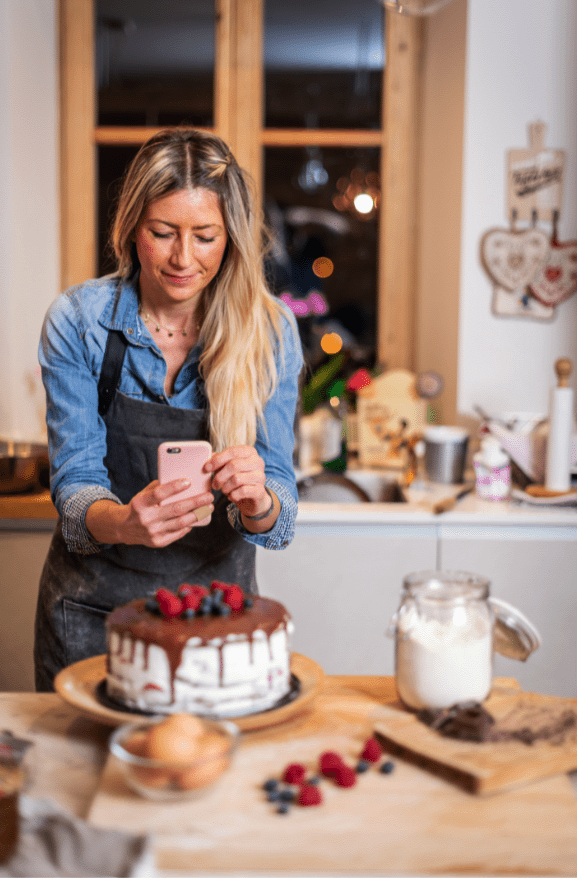
Drip cakes have gained huge popularity in social media in the last seven years. This delicious treat does not only taste good but also looks divine and celebratory. What makes drip cakes so amazing is the simplicity of making them and yet, look so stunningly professional.
A drip cake is great for every occasion, as you can decorate them with the right toppings to cater to every kind of event. They are tall and often have three or more layers, topped with decorations which can be anything from chocolate to flowers! If you are wondering how to make the perfect drip cake? This guide can help you understand all the essential steps and to help you figure out the items you will need to make a drip cake.
What is a Drip Cake?
There is a common misconception that cakes that look good do not taste good. This is because bakers use fondant to cover cakes, which make them look beautiful, professional, and easier to decorate. But, fondant-covered cakes are notoriously unpopular with foodies. Unlike fondant cakes, buttercream drip cakes are both beautiful and tasty.
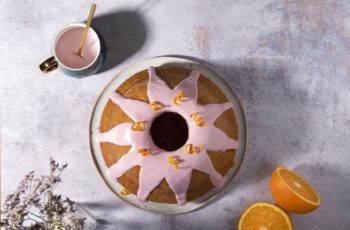
If you look up the words ‘drip cake’ online you will see some visually dynamic photos of a tall cake, which can be made simply with some icing or heavy cream on top with decorative toppings. What makes drip cake stand out is the drippings that roll down from the round edges of the cake to give it that unique look.
First created by the Australian cake designer Katherine Sabbath, who took inspiration from her favorite childhood thriller book series called ‘Goosebumps.’ If you have ever seen one, you might remember that the title logo of the book drips like these delicious cakes!
The drips of a drip cake are often made from chocolate ganache, candy melt ganache, etc. You can also make these drips out of canned frostings. Check out these instructions if you want to make a drip cake with canned frostings.
Baking Tools You Will Need
Here are some essential baking tools you will need to make a drip cake:
Cake Drum: It is better to use a cake drum instead of a plate or a cake board. For starters, it looks nicer. Drip cakes are tall and circular, with more depth than width. A cake drum gives it better support. Plus, it simply looks nicer.
Turntables: These are generally a necessity when trying to decorate any cake. It makes the job much easier, especially when you are trying to give your cake the drippings.
Cake Leveler: Drip cakes have a clean look to them. If you want to ensure that your multi-layered stacks look leveled, equal, and stay well on top of each layer, you need a cake leveler. This tool levels the swollen top of your baked cake base.
Cake Scraper: The buttercream on your cake needs to look smooth and even. To do so, it is better to use a cake scraper. It makes the job much easier, especially when you will crumb coat your sponge cake to make it more even.

A Spoon or Piping Bags or Plastic Squeeze Bottle: Most people like to use a spoon to drizzle the ganache dripping. Using a spoon is easier, and it is available in every household. You can also try a piping bag for the drizzle. You will probably need one anyway, especially if you are planning to decorate the top of the cake with more than the drippings, you will also need to buy piping nozzles. A plastic squeeze bottle is possibly the best option you could use. Make sure it has a nozzle or spout.
Cake Lifter: A necessity to move the cake around. This tall cake can be difficult to maneuver, so using the cake lifter to shift it from one surface to another can be vital.
Other Cake Necessities: Tools like a hand mixer, mixing bowl spatula, baking tins, parchment paper, baking tin liner, etc., are needed for making any baked goods from layered cake to chocolate chip cookies. So, make sure you have those regular cake necessities before you start baking.
Vanilla Buttercream Drip Cake Recipe
Use fresh ingredients for your cake to get the best flavors. The entire recipe uses salted butter instead of unsalted one. Salted butter enhances the flavor of the sweet ingredients of your baked goods. For example, if you use brown sugar and salt in your chewy brownies, it will make the sweetness stand out better.
Ingredients
For the Cake
- 3 cups of flour.
- 3 cups of granulated sugar.
- 2 and a half teaspoons of baking powder.
- 1 cup of room temperature salted butter.
- ½ teaspoon salt.
- 2 teaspoons of vanilla extract.
- 7 egg white at room temperature.
- 1 and a half cups of room temperature buttermilk.
- 2 tablespoons of vegetable oil.
For the Buttercream Frosting
- 2 cups of room temperature salted butter.
- 1 tablespoon of vanilla bean paste(you can also use vanilla extract).
- 7 cups of powdered sugar.
- 2 tablespoons of whipped cream(or heavy cream).
For the Candy Melts Ganache
- ½ cup heavy cream.
- 12 ounce(1 packet) of candy melts(whichever color you prefer!).
Steps
For the Sponge Cake
- Preheat oven to 350 °F.
- Grease and line four 7 inch pans with parchment paper or baking tin liners.
- Mix all the dry ingredients in a stand mixer until combined.
- Slowly add the butter into the mix and keep the mixer at a low speed. Keep mixing until it becomes crumbly and without any chunks.
- Continue to keep the mixer on a low speed. Add the egg white and mix until just combined.
- Continue at a low speed, adding the buttermilk slowly. Then, add the vanilla and the oil and mix until combined. Scrape down the batter from the sides and beat on slow speed. Repeat the process, mixing the batter until the batter is completely combined.
- Pour the batter evenly in the four tins.
- Bake for 35 minutes in the preheated oven or until the skewer comes out clean.
- Let it cool for at least 15 minutes or the tin is cool enough to touch, then carefully remove the cakes from the tin. You can leave them to cool on the cooling rack or pop them in the fridge for half an hour to make it cool down faster.
For the Buttercream Frosting
- Beat the butter with a hand mixer or a stand mixer until smooth.
- Add the vanilla paste, mixing at a slow speed.
- Add one cup of powdered sugar slowly as you mix.
- Add one tablespoon of whipped cream, slowly incorporating it.
- Add another cup of sugar, following it with the remaining whipped cream.
- Mix at a low speed until the frosting is smooth and holds form.
For the Candy Melt Ganache
- Chop the candy melts.
- Heat the cream until it reaches boiling point, but do not boil. You can do this in the microwave or a saucepan.
- Mix it into the cream until the mixture is smooth and glossy.
- If the ganache looks too thick add a tablespoon or two of warm whipped cream to make it moderately drippy.
Making the Drip Cake
- Use a cake leveler to remove the domes of each cake. Make sure all the cake layers look even.
- On the cake drum, put a little frosting in the middle to make the first piece of cake stick to it. Apply or pipe a generous layer of frosting on top, smoothing it out. Keep repeating the process until the top later is added. If you are worried that the tall cake will topple, you can use a bamboo skewer and put it into the cake stacks. Add it to the center of the cake, so that it doesn’t cause any problem when you slice it.
- Crumb coat the cake with frosting. This is to ensure that the crumbs don’t create flaws on the cake. Smooth it over properly with a wide cake scraper. Once the thin layer of frosting has been applied and smoothened, pop the cake into the fridge and refrigerate for 30 minutes.
- Bring out the cake when the frosting has hardened, and frost with the buttercream frosting. This will later become thicker, but make sure to smoothen it out as well. The cake has to look smooth and evenly frosted. Use a turntable to turn the cake as you smoothen the sides with a scraper and also ensure that the top is even and smooth.
- Chill the cake in the fridge for another 30-45 minutes until the frosting has hardened.
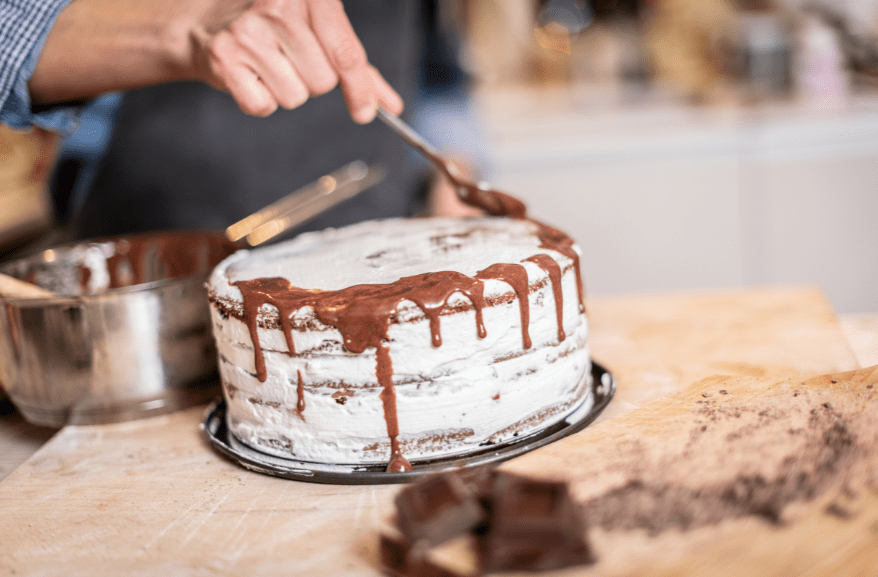
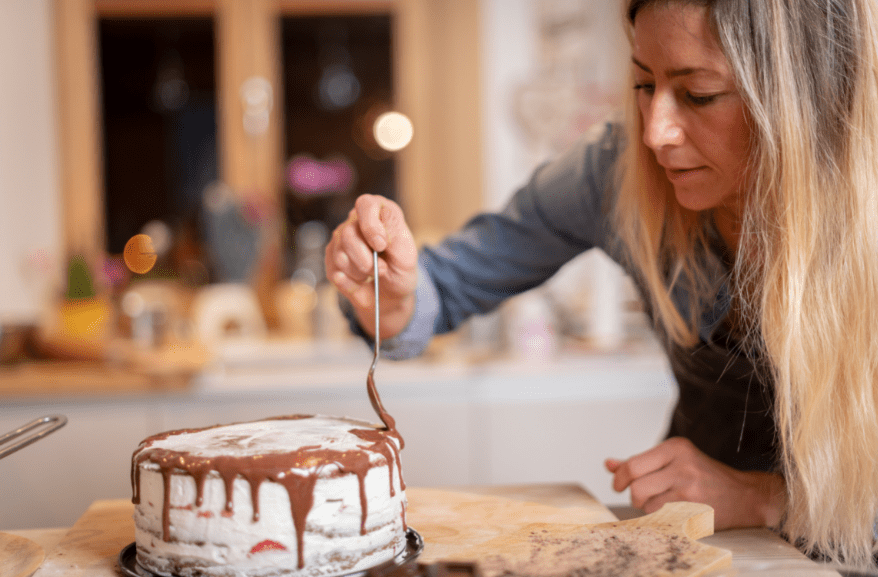
- Slowly pour over the dripping near the edge. Make sure to put some on the top to make it look flawlessly covered. Cover up any gaps but don’t over pour as it can cover the entire side. Just do it carefully, using a spoon, piping bag, or a squeeze bottle.
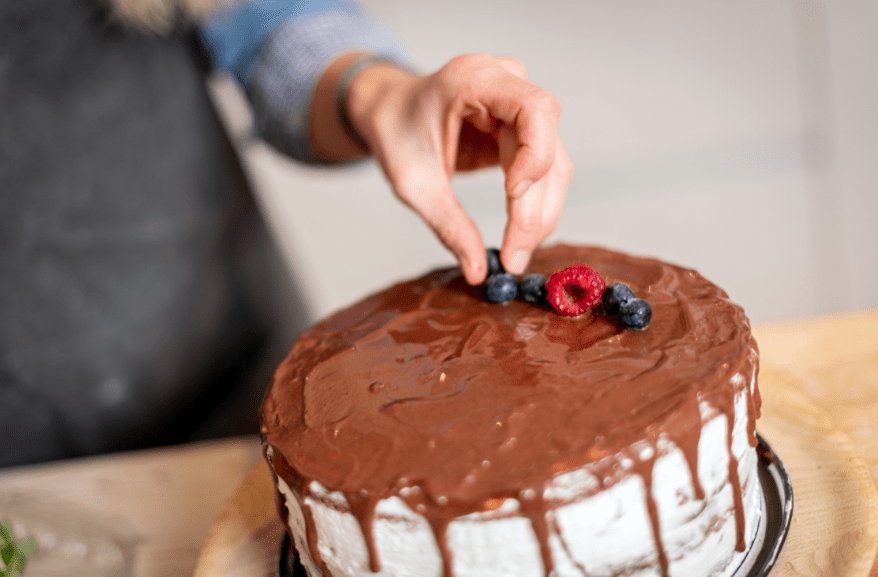
- Pop it in the fridge until the drizzle hardens. Add decorative toppings or enjoy as is!
Final Thoughts
Drip cakes look gorgeous, which makes it hard to believe that they are so easy to make. Now that you know how to make one, try it out the next time you have a reason to celebrate!