DIY Felt Bows
When giving a gift, don’t you want to put just as much thought into the package as you did for the gift? You don’t have to spend a fortune to make your gift box stand out—these three DIY felt bows are easy to make, fun to look at and, best of all, super inexpensive.
Head to your craft closet instead of the store for felt, buttons and other embellishments you may want to use.
Each of these bows will dress up any gift box, but we think you should check out these Everyday Dishes & DIY DIY felt boxes. It’s just another way to show your recipient just how much you care—not to mention your creative abilities!
DIY felt bows
Ingredients
- fringed felt bow
- craft felt in colors of your choice
- ruler
- scissors
- hot glue gun
- buttons or other embellishments
- grosgrain ribbon (optional)
- looped felt bow
- craft felt in colors of your choice
- scissors
- ruler
- hot glue and gun
- stapler (optional)
Instructions
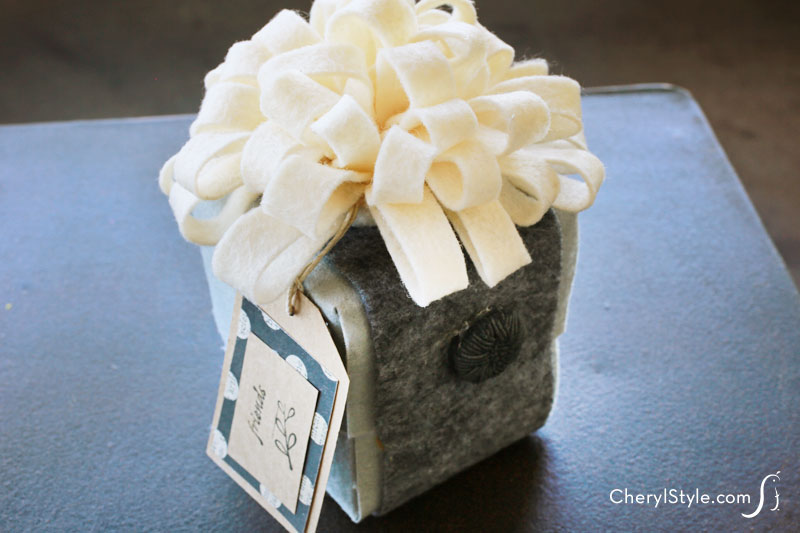
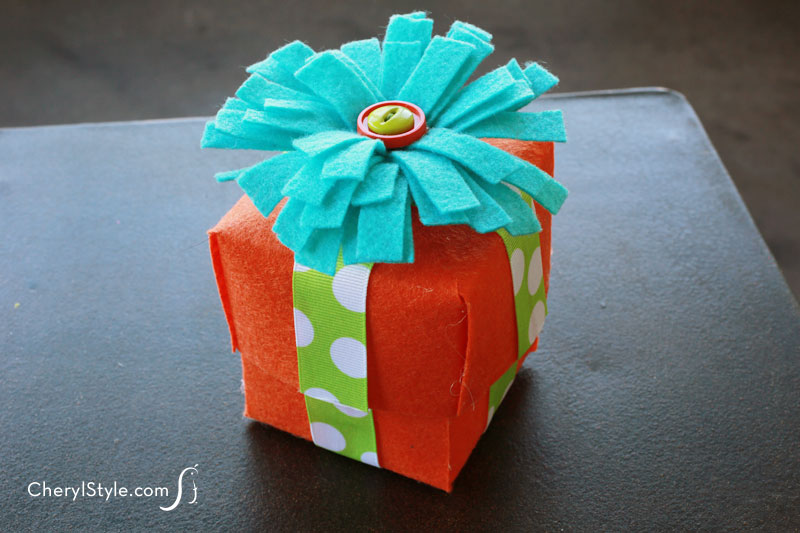
fringed felt bows
- Cut 1 strip of felt (2″ wide x 11″ long). If you want a taller bow, cut a wider strip. If you want a larger bow (for a larger box), cut 2 – 2″ x 11″ strips.
- Cut slits ½” apart as close to the edge as you can without cutting completely through the felt. The closer you get to the edge, the fluffier the bow will be.
- Roll the felt tightly, starting at one end and applying dabs of glue along the way to keep the roll together. If you cut a 2nd strip for a larger bow, glue the 2nd piece of fringed felt where the 1st piece ends. Continue rolling the felt tightly and glue as you roll.
- When you’re finished, glue the bottom of the roll with hot glue to secure the fringe loop bow. Fluff your bow by gently tugging on the fringe bow until you get the look you want then glue to a DIY felt box and add additional embellishments if desired.
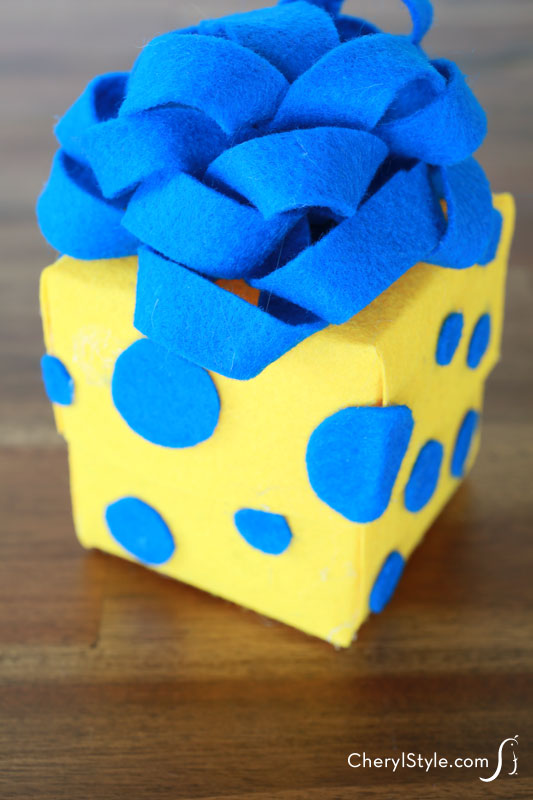
looped felt bow
- Cut ¼” wide strips of felt (3 – 12″ strips, 3 – 11″ strips, 2 – 10″ strips and 1 – 3½” strip) then create figure 8 loops with each strip of felt (except the shortest one). Staple or hot glue the loop ends together to hold the loop’s shape. You will have 8 loops when you are finished.
- Create a single loop with the shortest strip and staple or hot glue the ends together.
- To create your bow, stack the figure 8s, starting with the largest and rotating slightly so you get a nice full shape. Make sure to glue each figure 8 so you have a solid bow. When you are done, you will have 3 layers of the figure 8 loops (and 3 loops per layer).
- Glue the smallest loop to the center of the bow to finish it off then glue the bow to top of a DIY felt box or any box to give your gift some pizazz!
Notes
Be on your toes when working with hot glue! It hardens very quickly so you’ll need to work fast.